Tiny Space, Big Flavor: Genius Kitchen Herb Garden Ideas You Need to Steal
Imagine stepping into your kitchen, not just to cook, but to connect with nature. Picture snipping fresh basil for your pasta sauce, or adding sprigs of mint to your evening tea – all sourced just steps from your stove. This isn't a fantasy; it's the reality of a kitchen herb garden. Even if you're short on space, you can cultivate a thriving indoor garden, brimming with flavor and fragrance. Let's explore genius kitchen herb garden ideas that transform your space and elevate your cooking.
Why Embrace a Kitchen Herb Garden? More Than Just Fresh Flavor
Beyond the immediate access to fresh ingredients, a kitchen herb garden offers a wealth of benefits. It's a sustainable practice, reducing your reliance on store-bought herbs (often packaged in plastic). It adds vibrant greenery to your interior, purifying the air and boosting your mood. Growing your herbs also allows you to control the use of pesticides and chemicals, guaranteeing organic quality.
- Flavor Boost: Fresh herbs deliver a depth of flavor that dried herbs simply can't match.
- Cost Savings: Growing your own herbs is far more economical than buying them regularly.
- Sustainability: Reduce plastic consumption and food miles by growing locally.
- Aromatherapy: The scent of herbs like lavender, rosemary, and mint can be incredibly calming and invigorating.
- Aesthetic Appeal: Herb gardens add a touch of natural beauty to your kitchen.
Choosing the Right Herbs: Indoor Stars
Not all herbs thrive indoors, but many flourish with the right care. Consider these popular and easy-to-grow options:
- Basil: A culinary staple, basil loves warmth and bright light.Cultivating Your Own Oasis: A Beginner's Guide to a Home Herb Garden
- Mint: Vigorous and refreshing, mint is perfect for teas and cocktails. Be sure to plant it in its own container, as it can be invasive.
- Chives: Onion-flavored chives are easy to grow and add a subtle zest to dishes.
- Parsley: Versatile and hardy, parsley is a must-have for any kitchen garden.
- Rosemary: A fragrant and drought-tolerant herb, rosemary prefers well-drained soil and plenty of sunlight.
- Oregano: A staple in Mediterranean cuisine, oregano thrives in a sunny spot.
- Thyme: Another Mediterranean favorite, thyme is relatively low-maintenance and adds a savory touch to dishes.
Light, Temperature, and Location: Creating the Perfect Indoor Climate
Most herbs require at least six hours of sunlight per day. A south-facing windowsill is ideal, but if you don't have enough natural light, consider using a grow light. The ideal temperature range for most herbs is between 65°F and 75°F (18°C and 24°C). Avoid placing your herb garden near drafts or extreme temperatures.
- Sunlight: Aim for at least 6 hours of direct sunlight daily. Supplement with grow lights if necessary.
- Temperature: Maintain a consistent temperature between 65°F and 75°F.
- Humidity: Most herbs prefer moderate humidity. You can increase humidity by misting your plants or placing them on a tray of pebbles filled with water.
- Location: Choose a spot that's easily accessible for watering and harvesting.
Soil and Containers: Setting the Stage for Success
Use a well-draining potting mix specifically formulated for herbs or vegetables. Avoid using garden soil, as it can be too heavy and compact for containers. Choose containers with drainage holes to prevent waterlogging. Terracotta pots are a good option, as they allow the soil to breathe.
- Potting Mix: Use a high-quality potting mix designed for herbs or vegetables.
- Container Size: Choose containers that are appropriately sized for the herbs you're growing.
- Drainage: Ensure your containers have drainage holes to prevent root rot.
- Material: Terracotta, plastic, and ceramic pots are all suitable options.
Watering Wisdom: Finding the Right Balance
Overwatering is a common mistake with indoor herb gardens. Water your plants when the top inch of soil feels dry to the touch. Avoid letting the soil dry out completely, but also be careful not to saturate it. Frequency will depend on the herbs you choose, the size of your containers, and the ambient humidity.
- Check Soil Moisture: Water when the top inch of soil is dry.
- Water Thoroughly: Water until excess water drains from the bottom of the pot.
- Avoid Overwatering: Soggy soil can lead to root rot.
- Watering Time: Water in the morning to allow the leaves to dry before nightfall.
Vertical Herb Gardens: Maximizing Small Spaces
Living in an apartment or condo? Vertical gardens are your secret weapon to lush, flavorful herbs. They maximize space while adding a stunning visual element.
- Pallet Gardens: Repurpose a wooden pallet by attaching fabric or plastic lining to the back and filling the spaces with soil.
- Hanging Shoe Organizers: Transform a shoe organizer into a vertical herb garden by filling each pocket with soil and planting your favorite herbs.
- Tiered Planters: Use a tiered planter to create a cascading herb garden.
Hanging Planters: Herbs in the Air
Elevate your herb garden, literally! Hanging planters not only save space but also add a whimsical touch to your kitchen. Choose lightweight pots with drainage holes and hang them near a window.
- Macrame Hangers: Create a bohemian vibe with macrame plant hangers.
- Metal Baskets: Use metal baskets to hang multiple herb pots.
- Repurposed Containers: Get creative by using repurposed jars or cans as hanging planters.
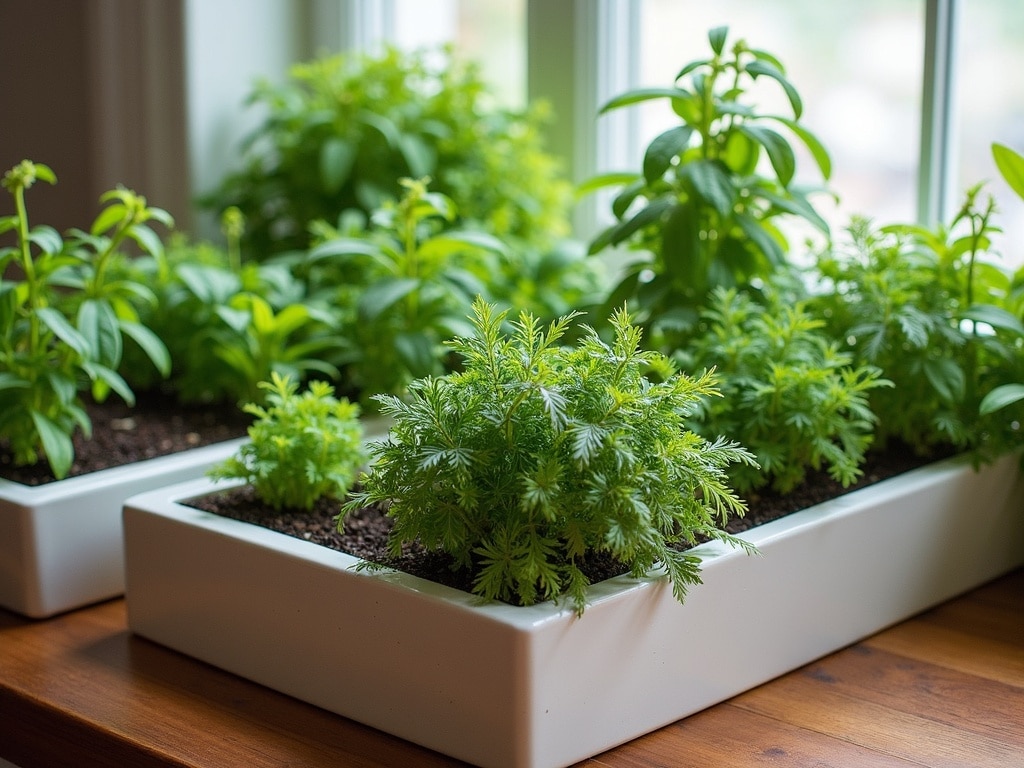
Windowsill Herb Gardens: Sun-Kissed Flavors
The classic kitchen herb garden setup! A windowsill herb garden is a simple and effective way to grow your favorite herbs. Choose shallow containers that fit snugly on your windowsill and ensure they receive plenty of sunlight.
- Uniform Pots: Create a cohesive look by using matching pots.
- Herb Grouping: Group herbs with similar watering and sunlight requirements together.
- Rotation: Rotate your pots regularly to ensure all sides receive adequate sunlight.
Countertop Herb Gardens: Freshness at Your Fingertips
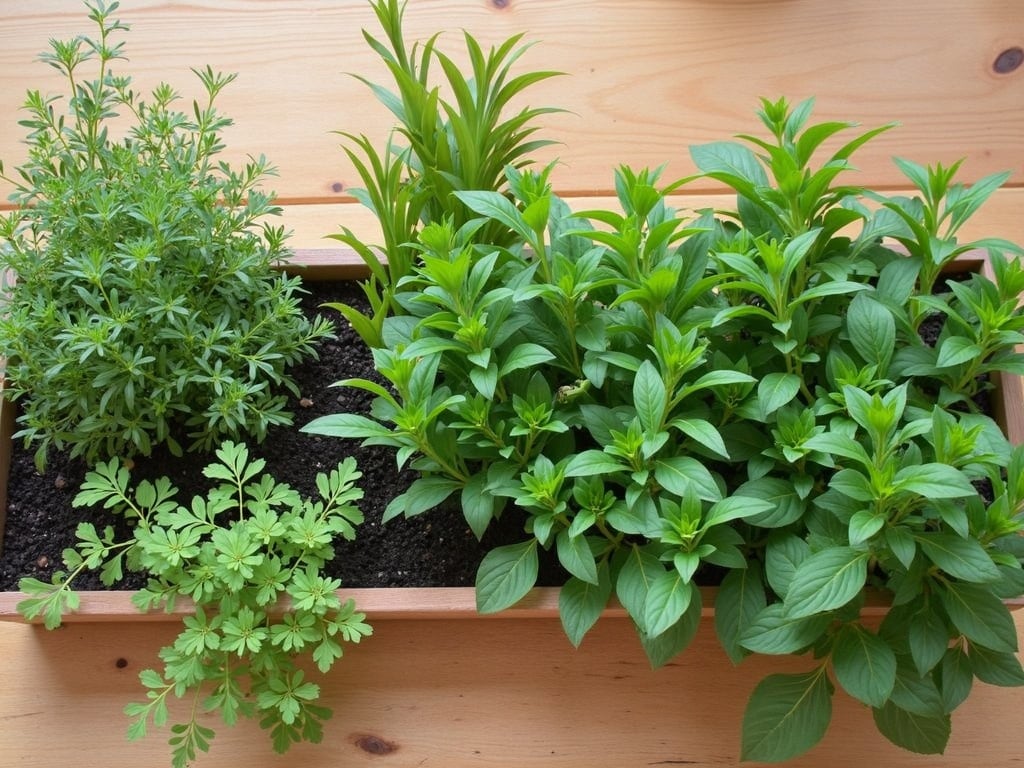
Keep your herbs within easy reach by creating a countertop herb garden. Choose a sunny spot on your counter and arrange your herbs in decorative pots or containers.
- Mason Jars: Use mason jars to create a rustic and charming countertop herb garden.
- Wooden Crates: Repurpose a wooden crate as a planter box for your herbs.
- Self-Watering Planters: These planters make it easy to keep your herbs properly hydrated.
DIY Herb Garden Projects for Beginners: Get Your Hands Dirty
Ready to get crafty? Here are a few easy DIY herb garden projects perfect for beginners:
- Repurposed Pallet Herb Garden: Transform an old pallet into a stylish vertical garden.
- Mason Jar Herb Garden: A simple and affordable way to grow herbs indoors.
- Tin Can Herb Garden: Recycle tin cans into charming planters.
Pest and Disease Control: Keeping Your Herbs Healthy
Even indoors, your herbs can be susceptible to pests and diseases. Regularly inspect your plants for signs of trouble. Common pests include aphids, spider mites, and whiteflies. Treat infestations with insecticidal soap or neem oil. Ensure proper airflow to prevent fungal diseases.
- Regular Inspection: Check your plants frequently for signs of pests or diseases.
- Insecticidal Soap: Use insecticidal soap to control common pests.
- Neem Oil: Neem oil is a natural insecticide and fungicide.
- Proper Airflow: Ensure good air circulation to prevent fungal diseases.
Harvesting and Storing Fresh Herbs: Maximize Your Bounty
Harvest herbs regularly to encourage growth. The best time to harvest is in the morning, after the dew has dried. Use sharp scissors or pruning shears to cut the stems. Store fresh herbs in the refrigerator, wrapped in a damp paper towel or submerged in water. You can also dry herbs by hanging them upside down in a cool, dark place or using a dehydrator.
- Harvest Regularly: Frequent harvesting encourages growth.
- Morning Harvest: Harvest herbs in the morning for the best flavor.
- Proper Tools: Use sharp scissors or pruning shears.
- Storage: Store fresh herbs in the refrigerator or dry them for later use.
Creative Displays: Show Off Your Green Thumb
Your kitchen herb garden is more than just a source of fresh ingredients; it's a decorative element. Get creative with your displays to add personality to your space. Use attractive pots, arrange your herbs in interesting groupings, or create a focal point with a vertical garden.
- Decorative Pots: Choose pots that complement your kitchen décor.
- Herb Grouping: Arrange herbs with varying textures and colors for visual appeal.
- Labeling: Use attractive labels to identify your herbs.
Propagating Herbs from Cuttings: Expand Your Garden for Free
Propagating herbs from cuttings is an easy and inexpensive way to expand your kitchen herb garden. Simply snip off a 4-6 inch stem from a healthy plant, remove the lower leaves, and place the cutting in a glass of water. Once roots develop, transplant the cutting to a pot filled with potting mix.
- Stem Cuttings: Take cuttings from healthy, actively growing plants.
- Remove Lower Leaves: Remove the lower leaves to prevent rot.
- Rooting in Water: Place cuttings in water until roots develop.
- Transplanting: Transplant rooted cuttings to pots filled with potting mix.
Common Mistakes to Avoid: Ensuring a Thriving Garden
Starting a kitchen herb garden can be easy, but here are some pitfalls to avoid:
- Overwatering: This is the most common mistake. Let the soil dry slightly between waterings.
- Insufficient Sunlight: Most herbs need at least six hours of sunlight per day.
- Poor Drainage: Make sure your containers have drainage holes to prevent root rot.
- Using the Wrong Soil: Use a well-draining potting mix specifically formulated for herbs or vegetables.
Final Thoughts: Your Flavorful Journey Begins Now
A kitchen herb garden is a small investment that yields enormous rewards—fresh flavors, vibrant greenery, and a deeper connection to your food. With these kitchen herb garden ideas, even the smallest space can become a haven of herbaceous delights. Don't wait – start planting, start snipping, and start enjoying the magic of homegrown herbs today!