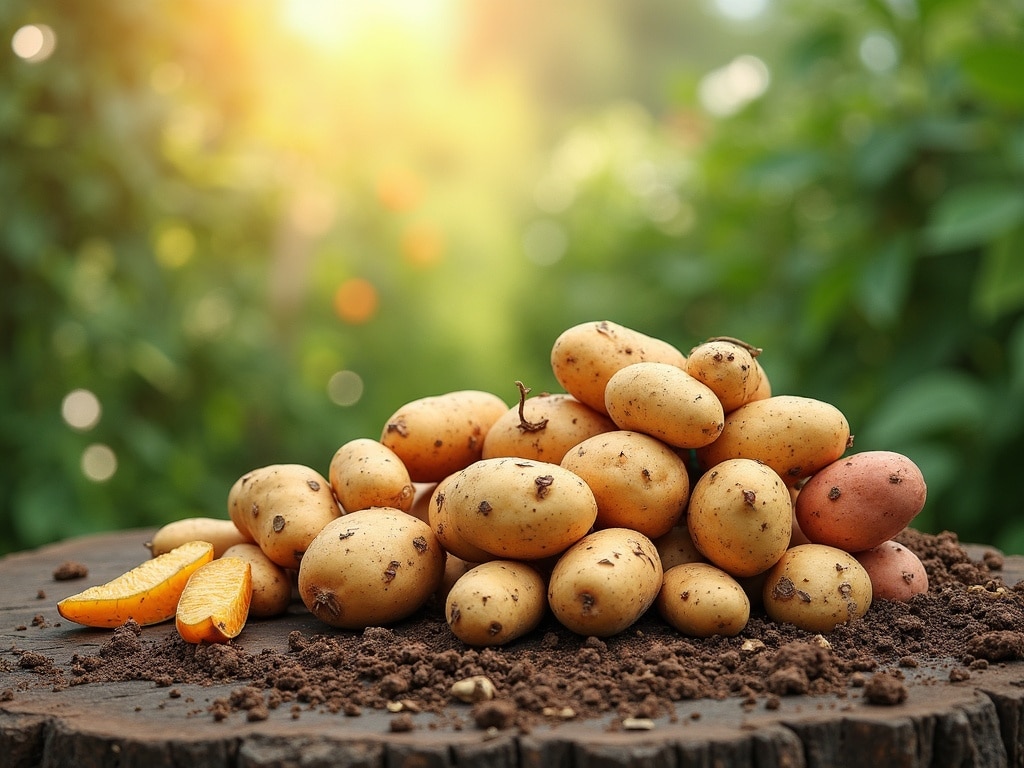
How to Harvest and Store Potatoes for a Bountiful Pantry
Imagine the satisfaction of digging into the earth and unearthing a treasure trove of homegrown potatoes. From creamy Yukon Golds to vibrant purple varieties, the fruits (or rather, tubers) of your labor are ready to be harvested and stored, promising delicious meals throughout the colder months. But knowing when and how to harvest and store potatoes properly is key to ensuring a successful and long-lasting potato bounty.
When to Harvest Your Potatoes: Timing is Everything
Knowing when to harvest your potatoes is crucial for maximizing yield and ensuring good storage quality. The timing depends on the type of potato you're growing – early, mid-season, or late-season – and what you intend to do with them.
Early-Season Potatoes: The New Potato Harvest
Early-season potatoes, often called new potatoes, are ready for harvest relatively soon after planting, typically 60-80 days. These potatoes have thin skins and a delicate, sweet flavor. They are best enjoyed fresh and don't store well for long periods.
**Harvesting Time:Start harvesting when the plants begin to flower, or a week or two after. The potatoes will be small, about the size of a hen's egg.
**How to Harvest:Gently dig around the base of the plant with a garden fork, being careful not to damage the potatoes. Lift the plant and carefully remove the new potatoes.
**Curing:New potatoes don't require curing. Just brush off any excess soil and they're ready to eat.
Mid-Season Potatoes: A Versatile Crop
Mid-season potatoes mature in approximately 80-100 days. They offer a good balance of flavor, size, and storage potential, making them a versatile choice for many gardeners.
**Harvesting Time:Harvest when the foliage starts to turn yellow and die back.
**How to Harvest:Use a garden fork to carefully lift the potato plants from the soil, taking care not to bruise or cut the tubers.
**Curing:Mid-season potatoes benefit from a short curing period. Spread them out in a cool, dark, and well-ventilated place for a week to allow the skins to toughen up.
Late-Season Potatoes: The Storage Kings
Late-season potatoes are the workhorses of the potato world, maturing in 100-120+ days. These potatoes have thick skins and are specifically bred for long-term storage, providing you with a supply of homegrown goodness throughout the winter.
**Harvesting Time:Wait until the foliage has completely died back before harvesting late-season potatoes. This indicates that the potatoes have reached their full maturity and their skins have thickened sufficiently.
**How to Harvest:Gently dig around the plants with a garden fork, being extra careful not to damage the potatoes. The skins will be more mature now compared to the earlier varieties but still take care not to bruise them.
**Curing:Curing is essential for late-season potatoes. Spread them out in a cool (50-60°F), dark, and well-ventilated place for 2-3 weeks. This allows the skins to fully harden, preventing rot and extending their storage life. [externalLink insert]
Harvesting Potatoes: A Step-by-Step Guide
No matter the type of potato you're harvesting, the basic technique remains the same. Here's a detailed guide to ensure a successful harvest:
1. **Choose a Dry Day:Harvesting potatoes on a dry day is crucial. Wet potatoes are more prone to rot during storage.
2. **Prepare Your Tools:Gather your tools, including a garden fork (preferred over a spade, as it's less likely to damage the potatoes), gardening gloves, and containers for collecting the potatoes.
3. **Loosen the Soil:Insert the garden fork about a foot away from the base of the plant and gently loosen the soil around the potato hill.
4. **Lift the Plant:Carefully lift the entire plant from the soil. You should find a cluster of potatoes attached to the roots.
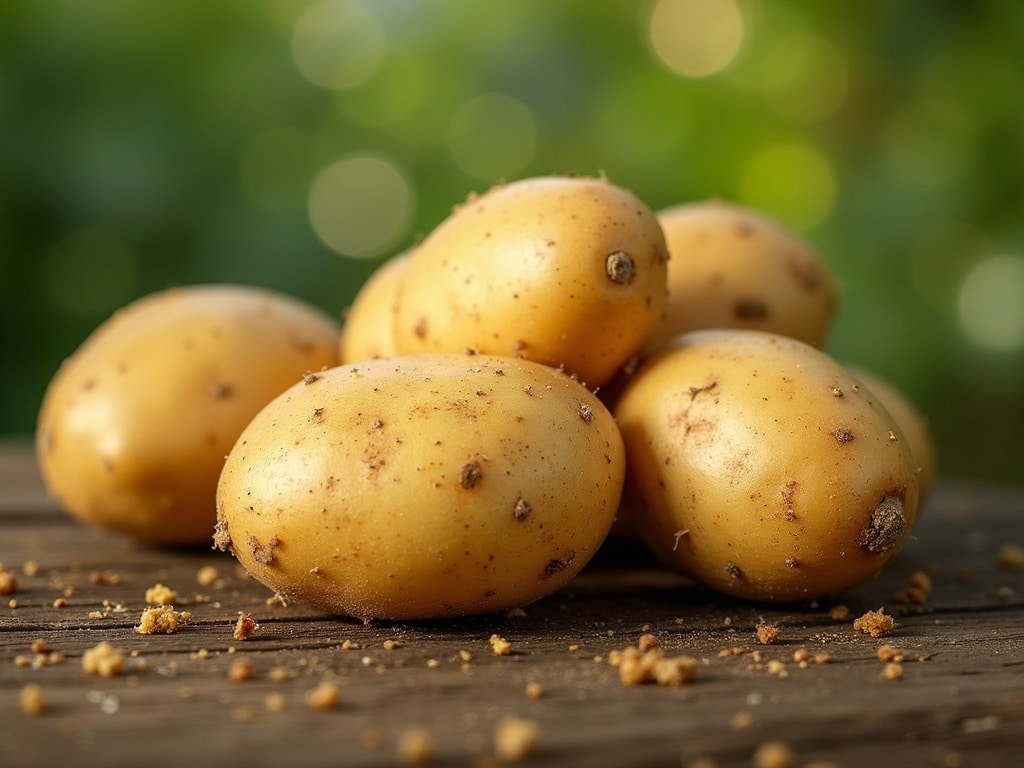
5. **Harvest the Potatoes:Gently remove the potatoes from the soil and detach them from the plant. Brush off any excess soil, but avoid washing them at this stage.
6. **Sort and Inspect:As you harvest, sort the potatoes by size and inspect them for any damage, such as cuts, bruises, or signs of disease. Set aside any damaged potatoes to be used as soon as possible, as they won't store well.
7. **Repeat:Repeat the process for all your potato plants.
Curing Potatoes: Hardening the Skins for Storage
Curing is an essential step for extending the storage life of your potatoes, especially late-season varieties. It allows the skins to toughen up, which helps to prevent moisture loss and protect against fungal diseases.
1. **Choose a Curing Location:Select a cool (50-60°F), dark, and well-ventilated space for curing your potatoes. A shed, garage, or basement can work well. Avoid direct sunlight, as it can cause the potatoes to turn green and produce solanine, a toxic compound.
2. **Spread Out the Potatoes:Spread the potatoes out in a single layer on a clean surface, such as a burlap sack, newspaper, or wire mesh. Avoid piling them on top of each other, as this can restrict airflow and promote rot.
3. **Maintain Proper Ventilation:Ensure good air circulation around the potatoes by using a fan or opening windows.
4. **Curing Time:Cure the potatoes for 1-3 weeks, depending on the variety and the humidity level. The skins should become noticeably thicker and tougher during this time.
Preparing Potatoes for Long-Term Storage
Once your potatoes have been cured, they're ready for long-term storage. Proper preparation is key to preventing spoilage and ensuring that your potatoes remain delicious for months to come.
1. **Final Inspection:Before storing, give your potatoes a final inspection. Discard any that show signs of rot, disease, or damage. Even one bad potato can spoil the entire batch.
2. **Brush Off Excess Soil:Gently brush off any remaining soil from the potatoes. Avoid washing them, as this can introduce moisture and promote rot. If the potatoes are very dirty, you can lightly wipe them with a dry cloth.
3. **Sort by Size:Sort the potatoes by size. Smaller potatoes tend to dry out faster than larger ones, so it's best to store them separately and use them first.
4. **Choose the Right Storage Containers:Use containers that allow for good air circulation, such as burlap sacks, wooden crates, or wire baskets. Avoid using plastic bags, as they can trap moisture and promote rot.
Storing Potatoes: Creating the Ideal Environment
The key to successful long-term potato storage is creating the right environment: cool, dark, and well-ventilated.
1. **Temperature:The ideal storage temperature for potatoes is between 40-50°F (4-10°C). Temperatures above 50°F can cause the potatoes to sprout, while temperatures below 40°F can cause them to convert their starch into sugar, resulting in a sweet taste.
2. **Darkness:Potatoes should be stored in a dark place to prevent them from turning green and producing solanine. If you don't have a dark storage area, you can cover the potatoes with a burlap sack or blanket.
3. **Ventilation:Good air circulation is essential for preventing moisture buildup and rot. Ensure that your storage area is well-ventilated by opening windows or using a fan.
4. **Humidity:While good ventilation is important, you also want to maintain a moderate level of humidity in your storage area. Potatoes can dry out if the humidity is too low. Aim for a humidity level of around 80-90%.
5. **Avoid Ethylene Gas:Store potatoes away from fruits like apples and bananas, which release ethylene gas. Ethylene gas can cause potatoes to sprout prematurely.
Troubleshooting Potato Storage Problems
Even with the best preparation and storage techniques, you may encounter some problems. Here are some common issues and how to address them:
**Sprouting:If your potatoes start to sprout, it means the storage area is too warm or too bright. Remove the sprouts before using the potatoes. While sprouted potatoes are still safe to eat, they may have a slightly bitter taste and a softer texture.
**Green Potatoes:Green potatoes contain solanine, a toxic compound that can cause nausea, vomiting, and diarrhea. Discard any potatoes that have turned green.
**Rotting:Rotting is usually caused by excessive moisture or poor ventilation. Remove any rotten potatoes immediately to prevent the rot from spreading to the other potatoes.
**Shriveling:Shriveling indicates that the potatoes are losing moisture. This can be caused by low humidity or poor ventilation. Try increasing the humidity or improving air circulation in your storage area.
**Sweet Taste:A sweet taste means that the potatoes have been stored at too low a temperature. Try to store them at a slightly warmer temperature in the future. The sweetness will often diminish during the cooking process.
Different Methods for Storing Potatoes
Beyond simply placing potatoes in a cool, dark place, several methods can further enhance their storage life.
Root Cellars: The Traditional Approach
A root cellar is an underground structure designed to maintain a cool, humid, and dark environment ideal for storing root vegetables like potatoes. If you have a root cellar, it's likely the best place to store your potatoes.
**Benefits:Consistent temperature and humidity, natural darkness, and excellent ventilation.
**Considerations:Requires an existing root cellar or the construction of one.
DIY Potato Storage Bins
You can create your own potato storage bins using readily available materials like wood, wire mesh, or even repurposed plastic containers.
**Benefits:Customizable to your space and needs, relatively inexpensive.
**Considerations:Requires some DIY skills and attention to ventilation.
Refrigeration: A Last Resort
While not ideal, refrigeration can be used to store potatoes for a short period. However, keep in mind that refrigeration can cause potatoes to develop a sweet taste due to starch conversion.
**Benefits:Extends storage life for a short period.
**Considerations:Can alter the flavor and texture of the potatoes. Always store potatoes in a paper bag in the refrigerator, never plastic.
Creative Ways to Use Your Stored Potatoes
Once you've successfully harvested and stored your potatoes, the possibilities are endless! Here are just a few ideas to inspire your culinary creativity:
**Classic Mashed Potatoes:A comforting and versatile side dish . Experiment with different flavors by adding garlic, herbs, or cheese.
**Roasted Potatoes:Crispy on the outside and fluffy on the inside, roasted potatoes are a delicious and easy-to-prepare side dish.
**Potato Soup:A hearty and warming soup perfect for cold winter days.
**Potato Salad:A classic summer side dish, perfect for picnics and barbecues.
**Homemade French Fries:A delicious and satisfying treat.
**Potato Pancakes:A savory and flavorful breakfast or side dish.
**Shepherd's Pie:A comforting and hearty casserole topped with mashed potatoes.
**Potato Bread:A soft and flavorful bread that's perfect for sandwiches or toast.
Conclusion: A Potato Bounty to Enjoy All Year Round
Harvesting and storing potatoes is a rewarding experience that allows you to enjoy the taste of homegrown goodness throughout the year. By following these tips and techniques, you can ensure a successful harvest and long-lasting storage, providing you with a plentiful supply of delicious and nutritious potatoes for months to come. So, get digging, get storing, and get ready to savor the fruits (or rather, tubers) of your labor!