Growing your own food is a pretty rewarding thing to do. And when it comes to broccoli sprouts, it's surprisingly easy to get a good harvest right in your own kitchen. Forget those store-bought versions that might have sat around for a while. We're talking about getting the freshest, most nutrient-packed sprouts possible, all thanks to a little effort on your part. This guide will walk you through everything you need to know about home grown broccoli sprouts, from picking the right seeds to enjoying the final product.
Key Takeaways
- Home grown broccoli sprouts offer unparalleled freshness and flavor.
- Growing your own sprouts means you can guarantee they are free from pesticides.
- Broccoli sprouts are packed with nutrients, making them a healthy addition to any diet.
- Simple techniques and common supplies are all you need to start sprouting at home.
- Knowing when to harvest and how to use your sprouts ensures you get the most out of them.
Cultivating Your Own Home Grown Broccoli Sprouts
There's something really special about growing your own food, isn't there? It’s like having a little piece of nature right in your kitchen, ready to give you a boost of goodness whenever you need it. With broccoli sprouts, you get all that amazing freshness and nutrition without needing a big garden or a lot of fancy equipment. It’s a super accessible way to bring more healthy habits into your life, and honestly, it’s pretty satisfying to watch them grow from tiny seeds into vibrant little greens.
The Joy of Freshness
Imagine grabbing a handful of sprouts that you literally just harvested. They’re crisp, they’re bright, and they taste so much better than anything that’s been sitting on a store shelf for who knows how long. This immediate freshness means you’re getting the most flavor and the highest amount of nutrients possible. It’s a simple pleasure, but it makes a big difference in how your food tastes and how good you feel after eating it.
Pesticide-Free Goodness
One of the biggest perks of growing your own broccoli sprouts is knowing exactly what goes into them. You’re in complete control of the environment, which means you can say a big goodbye to any worries about harmful pesticides or chemicals. This is especially important for sprouts, as they’re eaten raw and you want them to be as pure and clean as possible. It’s a way to ensure you’re truly nourishing your body with wholesome food.
Nutrient Powerhouses
Don't let their small size fool you; broccoli sprouts are packed with incredible health benefits. They are particularly famous for their high concentration of sulforaphane, a compound that’s been linked to all sorts of good things for your body, like supporting your immune system and general well-being. Plus, they offer a good dose of vitamins and minerals that contribute to a healthy diet. It’s like having tiny superfoods growing right on your windowsill!
Getting Started with Home Grown Broccoli Sprouts
Ready to jump into the wonderful world of growing your own broccoli sprouts? It’s easier than you might think, and the payoff in freshness and flavor is totally worth it. Let’s get you set up for success!
Essential Supplies for Success
To get your sprout-growing adventure rolling, you’ll need just a few key items. Don't worry, they're all pretty straightforward and easy to find:
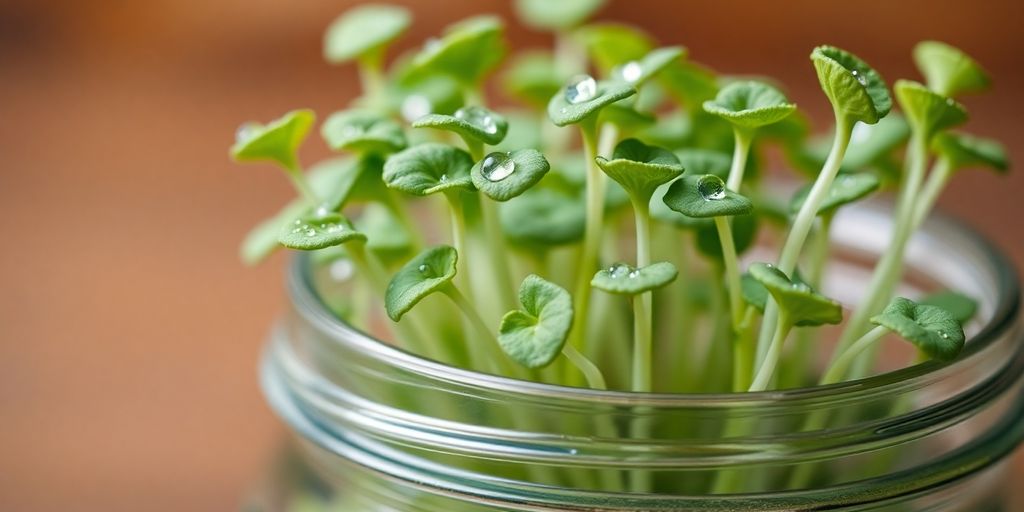
- A sprouting jar or container: These are usually glass jars with mesh lids, perfect for rinsing and draining. You can also use a simple colander or even a clean bowl with a plate on top, though a dedicated jar makes things much simpler.
- Broccoli seeds: Make sure you’re getting seeds specifically meant for sprouting. These are usually smaller and processed differently than garden seeds.
- Clean water: Your tap water is usually fine, but if yours has a strong taste, consider using filtered water.
- A place to let them drain: A simple dish rack or even just propping the jar on a towel works.
The beauty of sprouting is its simplicity. You don't need a fancy setup or a lot of space. Just a few basic things and you're on your way to fresh sprouts in no time.
Choosing the Right Seeds
This is a big one! Not all seeds are created equal when it comes to sprouting. You want to look for seeds labeled specifically for sprouting. Why? Because they're grown and processed to be safe for eating raw. Garden seeds might have been treated with things you don't want to consume, and they might not sprout as reliably.
- Look for ‘sprouting seeds': This is your main clue. Reputable seed companies will clearly label them.
- Check the variety: While broccoli is the star here, there are different types. For beginners, standard broccoli sprouts are fantastic.
- Consider organic: If you're aiming for the purest sprout experience, organic seeds are a great choice.
Simple Sprouting Techniques
There are a couple of popular ways to sprout your broccoli seeds, but they all follow a similar pattern of soaking, rinsing, and draining. The jar method is super popular for a reason:
- Rinse your seeds: Give them a quick rinse under cool water.
- Soak them: Place your seeds in your sprouting jar, cover them with plenty of cool water, and let them soak for about 8-12 hours (or overnight is easy!).
- Drain and rinse: After soaking, drain all the water out completely. Then, rinse the seeds with fresh water and drain again. You’ll want to do this rinsing and draining process about two to three times a day.
- Let them grow: Keep the jar tilted on its side in a place with indirect light. This allows any remaining water to drain and lets air circulate. You’ll start seeing little sprouts emerge within a day or two!
Keep rinsing and draining them twice a day until they reach your desired size, which usually takes about 3-5 days. It’s really that straightforward!
Nurturing Your Sprouts to Perfection
Now that you've got your seeds soaking and ready to go, it's time to give them the TLC they need to sprout up into those tiny powerhouses of nutrition. It’s not complicated, really, but a little attention goes a long way. Think of it like waking up a sleepy seed – you want to be gentle and consistent.
Daily Care and Watering
Your little sprouts need a drink, but not too much. The goal is to keep them moist, not soggy. Too much water can lead to yucky stuff like mold or sliminess, and nobody wants that. Here’s the basic routine:
- Rinse and Drain: Twice a day, usually morning and evening, give your sprouts a good rinse. Use cool, clean water. Swish them around gently in their jar or container.
- Drain Thoroughly: This is super important. Tip the jar on its side or use a mesh lid to let all the water drain out. You want them to be damp, not sitting in a puddle.
- Air Time: After draining, give the jar a little shake to get some air circulating around the sprouts. This helps them dry out a bit and prevents that stagnant, damp smell.
The key is consistency; don't skip a rinse! It’s what keeps them clean and hydrated.
Ensuring Proper Airflow
Good airflow is like a breath of fresh air for your sprouts. It helps them dry properly after rinsing and keeps the air around them from getting too humid. This is especially important if you’re using a jar with a lid. If you’re using a sprouting jar with a mesh lid, you’re already set. If you’re using a regular jar, you can use a piece of cheesecloth secured with a rubber band, or a sprouting lid. Just make sure whatever you use allows air to get in and out easily. When you drain them, give the jar a gentle swirl to help them breathe.
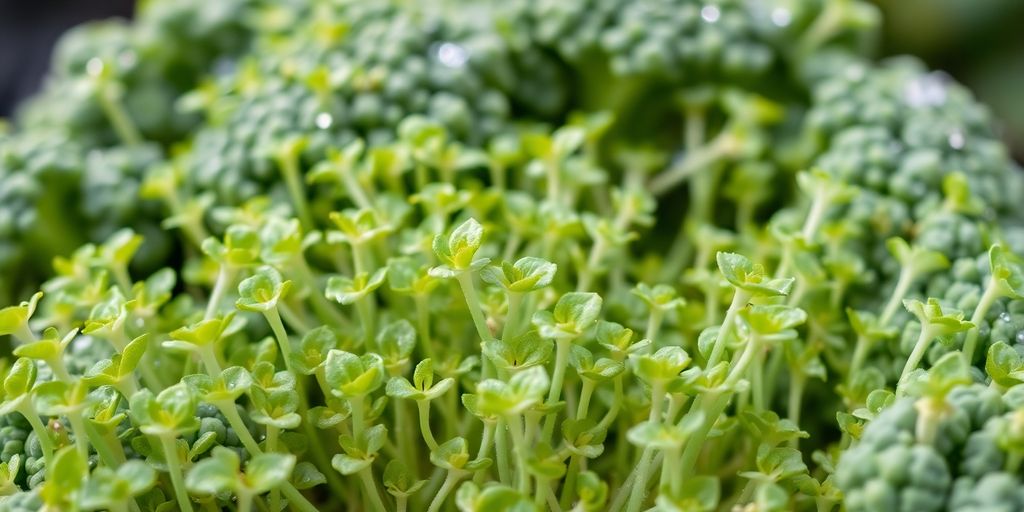
Watching Them Grow
This is the fun part! Over the next few days, you’ll start to see them transform. They’ll go from tiny seeds to little green shoots. You’ll notice they start to get a bit fuzzy – those are their root hairs, and they’re totally normal and edible! Keep up with the rinsing and draining, and you’ll see them get bigger and greener. It’s pretty amazing to watch something grow so quickly right on your kitchen counter. Soon enough, they’ll be ready for you to enjoy.
Harvesting and Enjoying Your Bounty
It’s an exciting moment when your little broccoli sprouts are ready to be harvested! You’ve nurtured them from tiny seeds to vibrant greens, and now it’s time to enjoy the fruits of your labor. Knowing when they're ready is key to getting the best flavor and texture.
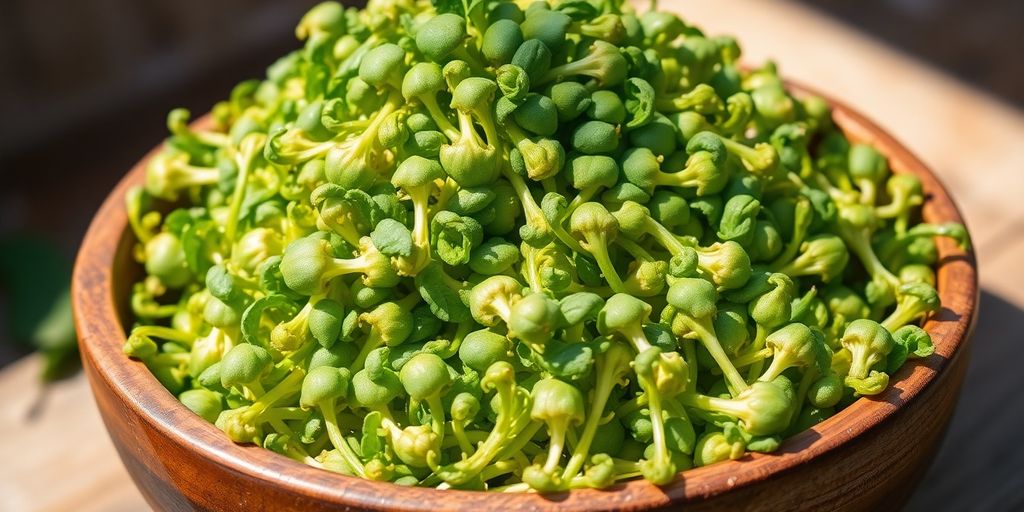
Knowing When They're Ready
Your sprouts are typically ready to harvest after about 4 to 7 days. You’ll notice they’ve grown a bit taller and have developed their first set of leaves, often called cotyledons. They should look plump and green, not stringy or wilted. If you wait too long, they can start to get a bit bitter, so keep an eye on them!
Rinsing and Draining
Once they look good and ready, it’s time for a good rinse. Gently pour some fresh, cool water over your sprouts in the sprouting jar or container. Swish them around a bit to get them clean. Then, drain them thoroughly. It’s really important to get as much water out as possible to prevent any sliminess or mold. You can use a fine-mesh sieve for this. Letting them air dry for a bit after draining also helps.
Proper draining is super important. If your sprouts sit in water, they can get mushy and develop off-flavors, which is the last thing we want after all this effort. Make sure they are as dry as possible before storing or using them.
Creative Culinary Uses
Now for the fun part – eating them! These little powerhouses are so versatile. Here are a few ideas to get you started:
- Salads: Toss them into any salad for a fresh, peppery crunch. They add a great texture and a boost of nutrients.
- Sandwiches and Wraps: Layer them generously on your favorite sandwiches or wraps. They’re a fantastic substitute for lettuce and add a nice bite.
- Smoothies: Don’t knock it till you try it! A small handful of sprouts blended into your morning smoothie is a great way to sneak in some extra goodness. You won’t even taste them, but your body will love them.
- Toppings: Sprinkle them over soups, stir-fries, avocado toast, or even scrambled eggs. They add a pop of freshness and visual appeal to almost any dish. You can find some great recipe ideas to incorporate them into your diet using this guide.
Enjoying your home-grown broccoli sprouts is a simple pleasure that brings a lot of healthy rewards. Happy sprouting and happy eating!
Troubleshooting Common Sprouting Issues
Even the most seasoned sprout growers run into a few hiccups now and then. Don't let a little bump in the road discourage you! Most common sprouting problems are pretty easy to fix with a little know-how.
Dealing with Sliminess
Sliminess is probably the most common issue people encounter. It usually happens when sprouts aren't getting enough air circulation or are being over-watered. The good news is, it's usually not a sign of spoilage, just a buildup of mucilage, a natural gel-like substance. Here’s how to tackle it:
- Rinse thoroughly: Give your sprouts an extra good rinse and drain. Make sure you're really getting in there to wash away that gel.
- Increase airflow: Ensure your sprouting jar or container has plenty of ventilation. If you're using a jar, make sure the screen lid is secure and clean.
- Drain completely: After rinsing, shake out as much water as possible. Sprouts should be damp, not sitting in water.
- Cooler temps: Sometimes, keeping your sprouts a bit cooler can help reduce sliminess.
Remember, a little bit of natural sliminess is normal, especially with certain types of seeds like flax or chia. The key is to manage it so it doesn't become overwhelming.
Preventing Mold Growth
Mold is a bit more serious than sliminess, and it's usually a sign that something's gone wrong. The best defense is a good offense, meaning prevention is key.
- Start with clean equipment: Always use clean jars, screens, and utensils. Sterilize if you can.
- Use quality seeds: Old or poor-quality seeds are more prone to mold.
- Rinse and drain properly: This is super important! Mold loves stagnant, wet conditions. Frequent rinsing and thorough draining are your best friends.
- Good airflow: Again, make sure your sprouts can breathe. Mold thrives in stagnant air.
- Avoid overcrowding: Give your seeds enough space to grow without being too packed together.
If you do spot mold (it often looks fuzzy and might have a musty smell), it's best to discard the batch. It's not worth the risk!
Ensuring Consistent Results
Want sprouts that are reliably delicious every time? Consistency comes down to a few key practices:
- Follow the seed packet instructions: Different seeds have different needs for soaking time, rinsing frequency, and sprouting duration.
- Maintain a consistent environment: Try to keep your sprouting area at a stable temperature, away from direct sunlight or drafts.
- Be patient: Some seeds take longer than others. Don't give up too soon!
- Taste test: Regularly taste a few sprouts to gauge their readiness. They should be tender and flavorful, not bitter or tough.
The Health Benefits of Home Grown Broccoli Sprouts
Boosting Your Immune System
Broccoli sprouts are like little powerhouses for your body. They're packed with vitamins and minerals that help keep your immune system strong. Think of them as tiny soldiers ready to defend you against everyday sniffles and more serious stuff too. Eating them regularly can really give your body a good boost, helping you feel more resilient.
Supporting a Healthy Diet
Adding these sprouts to your meals is a super easy way to make your diet healthier. They're low in calories but high in good things your body needs. You can toss them on salads, sandwiches, or even blend them into smoothies. It’s a simple step that makes a big difference in getting those daily nutrients.
The Power of Sulforaphane
One of the most amazing things about broccoli sprouts is a compound called sulforaphane. It’s found in much higher amounts in sprouts than in mature broccoli. This stuff is really interesting because research suggests it has some pretty significant health perks.
- Detoxification Support: Sulforaphane helps your body’s natural detox processes.
- Antioxidant Properties: It acts as a strong antioxidant, fighting off cell damage.
- Cellular Health: Studies point to its role in promoting healthy cell function.
The concentration of sulforaphane in broccoli sprouts is truly remarkable. It’s what makes these tiny greens stand out as a superfood. Getting enough of this compound can contribute to overall well-being in ways that are still being explored, but the initial findings are very promising for long-term health.
Happy Growing!
So there you have it! Growing your own broccoli sprouts is totally doable and a fantastic way to add some super healthy greens to your meals. It’s pretty cool to think about how much goodness you can get from just a little seed and some water. Plus, you know exactly what went into growing them, which is a nice feeling. Give it a try, and you might just surprise yourself with how easy and rewarding it can be. Here’s to fresh sprouts and a healthier you!
Frequently Asked Questions
How long does it take for broccoli sprouts to grow?
Broccoli sprouts are super quick! You can usually see them ready to eat in about 5 to 7 days. Just a few days of care, and you'll have a fresh batch.
What do I need to start growing broccoli sprouts?
You don't need much! Grab some broccoli seeds made for sprouting, a clean jar or tray, and some water. That's pretty much it to get started.
How often should I water my sprouts?
You'll want to rinse your sprouts with fresh water about two to three times a day. This keeps them moist and helps them grow without getting yucky.
Can I eat broccoli sprouts if they look a little slimy?
Sliminess is usually a sign that something's not quite right, like not enough airflow or too much water. It's best to toss them if they feel slimy, as this can sometimes mean mold is starting to grow.
What are the main health benefits of eating broccoli sprouts?
Broccoli sprouts are packed with good stuff! They're known for having a powerful compound called sulforaphane, which is great for your body, helping to protect your cells and support overall health.
How should I store my home-grown broccoli sprouts?
Once they're rinsed and drained well, keep them in a clean container in the refrigerator. They'll stay fresh for about a week, so enjoy them while they're at their best!