
How to Create a Crop Rotation Calendar: A Comprehensive Guide
Imagine a garden bursting with life, season after season, free from depleted soil and rampant pests. The secret? A well-planned crop rotation calendar. It's not just about planting different things; it's about orchestrating a symphony of plant families to benefit your soil, your yields, and the overall health of your garden. Let's dive into how you can create your own, unlocking the potential of your plot.
Understanding the Principles of Crop Rotation
Crop rotation is the practice of changing the crops planted in a specific area according to a planned sequence. It's an age-old technique used by farmers and gardeners alike to improve soil health, manage pests and diseases, and optimize nutrient use. Think of it as a strategic dance across your garden beds.
Why is Crop Rotation Important?
Soil Health Improvement: Different plants have different nutrient needs. Some are heavy feeders (like corn and tomatoes), while others are nutrient fixers (like legumes). Rotating crops prevents the depletion of specific nutrients and can even improve soil structure.
Pest and Disease Management: Many pests and diseases are host-specific. By rotating crops, you disrupt their life cycles and prevent them from building up in the soil. This reduces the need for pesticides and other interventions.
Weed Control: Different crops have varying growth habits and shading abilities. Rotating crops can help suppress weed growth and prevent the dominance of specific weed species.
Increased Yields: Healthy soil leads to healthier plants and ultimately, increased yields. By optimizing nutrient availability and minimizing pest and disease pressure, crop rotation can significantly improve the productivity of your garden.
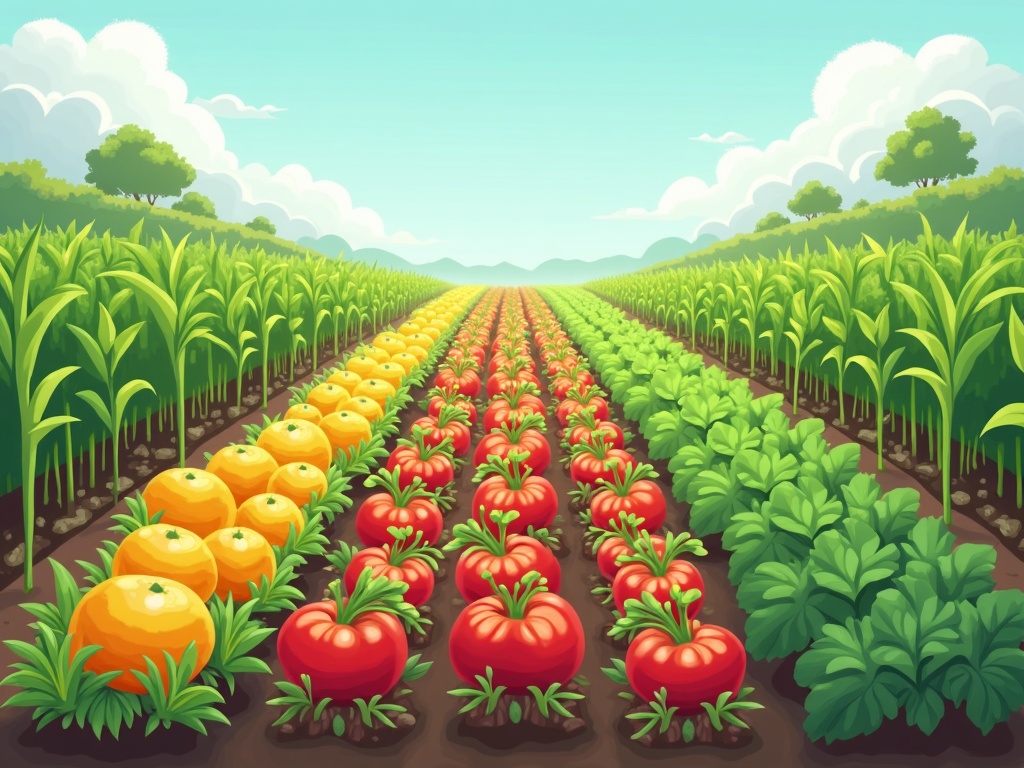
The Four Main Crop Groups
The foundation of crop rotation lies in understanding the needs and contributions of different plant families. These categories help you plan your rotations more effectively.
1. Heavy Feeders: These crops require a lot of nutrients from the soil, especially nitrogen, phosphorus, and potassium. Examples include:
Tomatoes
Corn
Potatoes
Peppers
Squash
Cucumbers
2. Light Feeders: These crops require fewer nutrients than heavy feeders. They are often leafy greens or root vegetables. Examples include:
Lettuce
Spinach
Radishes
Carrots
Onions
Beets
3. Legumes: These crops have a symbiotic relationship with nitrogen-fixing bacteria in their roots. They actually add nitrogen to the soil, improving its fertility. Examples include:
Beans
Peas
Clover
Alfalfa
Lentils
Soybeans
4. Cover Crops: These crops are grown specifically to improve soil health. They can be planted in between cash crops or during fallow periods. Examples include:
Rye
Oats
Buckwheat
Mustard
Crimson Clover
Step-by-Step Guide to Creating Your Crop Rotation Calendar
Creating a crop rotation calendar doesn't have to be daunting. Follow these steps to develop a plan that works for your garden.
Step 1: Assess Your Garden
Before you start planning, take stock of your garden. Knowing your growing space is key.
Map your garden beds: Create a simple map of your garden, noting the size and location of each bed. This will make it easier to track your rotations.
Analyze your soil: Conduct a soil test to determine its pH, nutrient levels, and organic matter content. This will help you understand what your soil needs and how to best improve it.
Consider your climate and growing season: The length of your growing season will influence the types of crops you can grow and the timing of your rotations.
Step 2: Identify Your Priority Crops
What do you want to grow? Write a list of the crops that you and your family regularly consume. Prioritize the ones that are most important to you. This list will form the basis of your crop rotation plan.
Consider your family's needs and preferences: Grow what you'll actually eat.
Think about your local climate and market demands: Choose crops that are well-suited to your area and that you can easily sell or share.
Note the nutrient requirements of each crop: Categorize your priority crops as heavy feeders, light feeders, or legumes.
Step 3: Design Your Rotation Plan
Now comes the heart of the process: designing the rotation itself.
Start with a basic rotation sequence: A simple four-year rotation is a good starting point. For example:
Year 1: Heavy feeders (e.g., tomatoes, corn)
Year 2: Legumes (e.g., beans, peas)
Year 3: Light feeders (e.g., lettuce, carrots)
Year 4: Cover crop (e.g., rye, oats)
Rotate crop families, not individual crops: It's crucial to avoid planting the same *familyof plants in the same bed year after year. For example, don't follow tomatoes (nightshade family) with potatoes (also nightshade).
Consider intercropping and companion planting: Integrate these techniques into your rotation plan to further enhance soil health and pest control. [externalLink insert] Companion planting involves growing two or more crops together that benefit each other. For instance, planting basil near tomatoes can deter pests. Intercropping refers to growing two or more crops simultaneously in the same space.
Account for crop maturity times: Some crops mature quickly, while others take longer. Factor this into your planning to ensure a continuous harvest.
Document everything: Write down your rotation plan in detail. Include the specific crops you'll plant in each bed each year, as well as the planting and harvesting dates.
Step 4: Create a Visual Calendar
A visual calendar helps you stay organized and easily track your progress.
Use a spreadsheet or gardening app: There are many tools available to help you create and manage your crop rotation calendar. Spreadsheets are useful if you want total control, while many apps offer premade templates.
Color-code your crops: Use different colors to represent different crop families. This will make it easy to see at a glance which crops are planted where.
Mark important dates: Include planting dates, harvesting dates, and dates for soil amendments.
Update your calendar regularly: As the season progresses, update your calendar with any changes or observations.
Step 5: Implementation and Monitoring
A plan is only as good as its execution.
Prepare your soil: Before planting, amend your soil with compost or other organic matter.
Plant your crops according to your calendar: Follow your rotation plan closely.
Monitor your plants for pests and diseases: Take action quickly if you notice any problems.
Take notes throughout the season: Record your observations about plant growth, pest and disease pressure, and soil conditions.
Adjust your plan as needed: Crop rotation is not a rigid system. Be prepared to make adjustments based on your observations and experiences.
Adapting Your Crop Rotation Calendar
No garden is exactly alike, and no crop rotation calendar should be either.
Small Gardens vs. Large Gardens
Small Gardens: In smaller gardens, intensive planting and succession planting become even more critical. You might need to be creative with intercropping and companion planting to maximize your space. A shorter rotation cycle (e.g., a two-year rotation) might be more practical.
Large Gardens: Larger gardens offer more flexibility. You can implement longer rotation cycles (e.g., a four-year or five-year rotation) and devote larger areas to cover cropping. You can also experiment with different rotation strategies in different sections of your garden.
Dealing with Pests and Diseases
Crop rotation is a powerful tool for pest and disease management, but it's not a silver bullet. You may still encounter problems, especially with persistent pests or soilborne diseases.
Identify the specific pest or disease: Knowing what you're dealing with is essential for choosing the right control methods.
Adjust your rotation to break the pest's life cycle: For example, if you have a problem with nematodes, plant nematode-resistant cover crops like mustard or marigolds.
Consider soil solarization: This involves covering the soil with clear plastic during the hottest part of the summer to kill pests and diseases.
Use organic pest control methods: Whenever possible, avoid using synthetic pesticides.
Improving Soil Fertility
The primary goal of crop rotation is to improve soil health.
Incorporate cover crops: Cover crops are essential for building soil organic matter, improving soil structure, and preventing erosion.
Add compost and other organic matter: Compost is a valuable soil amendment that provides nutrients and improves soil drainage.
Use green manure: Green manure crops are grown specifically to be turned back into the soil as fertilizer.
Consider no-till gardening: No-till gardening minimizes soil disturbance and helps to preserve soil structure and organic matter.
Advanced Crop Rotation Techniques
Once you've mastered the basics, you can explore more advanced crop rotation techniques to further optimize your garden.
Relay Cropping
Relay cropping involves planting a second crop into an existing crop before the first crop is harvested. For example, you could plant spinach or lettuce between rows of tomatoes a few weeks before the tomatoes are ready to harvest. This allows you to get two crops from the same space in the same season.
Strip Cropping
Strip cropping involves planting different crops in alternating strips across a field. This is often used on sloping land to prevent erosion. The strips of different crops act as a buffer to slow down water runoff and prevent soil loss.
Vertical Farming Considerations
Crop rotation in vertical farming systems presents unique challenges and opportunities.
Optimized Nutrient Delivery: Vertical farms often use hydroponic or aeroponic systems, allowing for precise control over nutrient delivery. Rotate crops based on their specific nutrient requirements to optimize efficiency.
Disease and Pest Management in Enclosed Spaces: The controlled environment of vertical farms can help minimize pest and disease pressure. Implement strict sanitation practices and monitor crops closely.
Space Optimization Strategies: Rotate crops with varying growth habits to maximize space utilization. Consider vertical stacking of crops with different light requirements.
Common Mistakes to Avoid
Even with the best intentions, mistakes can happen. Here's how to avoid some common pitfalls.
Not rotating crop families: This is the most common mistake. Make sure you understand which plants belong to which families and avoid planting the same family in the same bed year after year.
Not planning ahead: Crop rotation requires careful planning. Don't wait until the last minute to decide what to plant.
Ignoring soil health: Crop rotation is not a substitute for good soil management practices. You still need to amend your soil with compost and other organic matter.
Giving up too easily: Crop rotation takes time and effort. Don't get discouraged if you don't see results immediately.
Resources for Further Learning
Ready to dive deeper? There are many resources available to help you learn more about crop rotation.
University Extension Services: Your local university extension service is a great source of information about crop rotation and other gardening topics.
Gardening Books and Magazines: There are countless books and magazines dedicated to gardening. Look for resources that focus on crop rotation and soil health.
Online Forums and Communities: Online gardening forums and communities can be a great place to ask questions, share tips, and learn from other gardeners.
A well-designed crop rotation calendar is an investment in the long-term health and productivity of your garden. By understanding the principles of crop rotation, creating a detailed plan, and monitoring your progress, you can unlock the full potential of your soil and enjoy a bountiful harvest year after year. So, grab your calendar, sharpen your pencil, and get ready to transform your garden!