How to Build a Compost Bin: A Comprehensive Guide
Imagine turning kitchen scraps and yard waste into nutrient-rich gold for your garden. Composting is a fantastic way to reduce waste, improve soil health, and grow thriving plants. And the best part? You can easily build your own compost bin! This comprehensive guide will walk you through everything you need to know to construct a variety of compost bins, from simple structures to more elaborate systems. Get ready to embark on a rewarding journey toward sustainable gardening.
Why Build Your Own Compost Bin?
Before we dive into the how, let's explore the why. Building your own compost bin offers several advantages:
- Cost-Effective: Pre-made compost bins can be expensive. Building your own saves you money, especially if you use recycled materials.
- Customization: You can design a bin that perfectly suits your space, aesthetic preferences, and composting needs.
- Environmentally Friendly: Reusing materials like wooden pallets or plastic bins reduces waste and promotes sustainability.
- DIY Satisfaction: There's a unique satisfaction in creating something useful with your own hands.
- Educational: Building a compost bin is a hands-on way to learn about composting and sustainable living.
Factors to Consider Before You Start
Choosing the right type of compost bin depends on several factors:
Space Availability
Do you have a large backyard or a small balcony? The amount of space you have will significantly influence the type of bin you can build. For small spaces, consider a tumbler or a small container bin. For larger areas, a multi-bin system or a large pallet bin might be suitable.
Composting Volume
How much organic waste do you generate? If you have a large family and a big yard, you'll need a larger bin than a single person in an apartment. Consider the volume of kitchen scraps, yard trimmings, and other compostable materials you'll be adding regularly.
Budget
How much are you willing to spend on materials? You can build a simple compost bin for free using recycled materials, or you can invest in more durable materials like cedar wood or hardware cloth. Set a budget before you start to avoid overspending.
Aesthetics
Do you want your compost bin to be an attractive addition to your garden? You can choose materials and designs that blend in with your landscape. A well-designed compost bin can be both functional and visually appealing.
Maintenance
How much time and effort are you willing to put into maintaining your compost? Some compost bins, like tumblers, require regular turning, while others, like static piles, require less attention. Choose a system that fits your lifestyle and schedule.
Types of Compost Bins You Can Build
Now, let's explore different types of compost bins you can build, each with its own advantages and disadvantages:
1. Simple Compost Pile
This is the easiest and most basic method. You simply create a pile of compostable materials in a designated area of your yard.
- Pros: Very inexpensive, requires minimal effort to set up.
- Cons: Can be messy, attracts pests, slower decomposition, less aesthetically pleasing.
How to Build It:
1. Choose a location in your yard that is easily accessible and receives partial shade.
2. Start by layering brown materials (leaves, twigs) and green materials (grass clippings, kitchen scraps).
3. Keep the pile moist and turn it occasionally to aerate it.
2. Wire Mesh Bin
A wire mesh bin is a simple and inexpensive way to contain your compost pile.
- Pros: Inexpensive, easy to assemble, good aeration.
- Cons: Not very attractive, doesn't retain moisture well, can be flimsy.
Materials You'll Need:
Wire mesh (chicken wire or hardware cloth)
Metal or wooden stakes
Zip ties or wire
Tools You'll Need:
Wire cutters
Hammer
How to Build It:
1. Cut the wire mesh to the desired length and height. A common size is 3-4 feet in diameter and 3-4 feet tall.
2. Form the mesh into a cylinder and secure the ends together using zip ties or wire.
3. Drive the stakes into the ground around the perimeter of the cylinder to provide support.
4. Add your compostable materials and maintain the moisture level.
3. Pallet Compost Bin
A pallet compost bin is a more structured and durable option made from recycled wooden pallets.
- Pros: Inexpensive (if you can find free pallets), durable, good size for larger volumes of compost.
- Cons: Can be difficult to find pallets, requires some assembly, pallets may contain chemicals.
Materials You'll Need:
4 wooden pallets (untreated)
Screws or nails
Hinges (optional, for a door)
Tools You'll Need:
Drill or hammer
Screwdriver or nail gun
Saw (optional, for modifying pallets)
How to Build It:
1. Find four wooden pallets that are in good condition and untreated with chemicals. Look for the HT stamp, which indicates heat treatment. Avoid pallets marked with MB, which indicates methyl bromide fumigation.
2. Arrange the pallets in a square shape, with the open sides facing inward.
3. Secure the pallets together at the corners using screws or nails.
4. Optional: Add hinges to one of the pallets to create a door for easy access to the compost.
5. Line the inside of the bin with cardboard or weed fabric to help retain moisture.
6. Add your compostable materials and maintain the moisture level.
4. Three-Bin Compost System
A three-bin system allows you to have compost in different stages of decomposition. It's ideal for larger gardens and serious composters.
- Pros: Allows for continuous composting, provides compost at different stages of decomposition, good for large volumes of compost.
- Cons: Requires more space, more complex to build, more expensive than other options.
Materials You'll Need:
12 wooden pallets (untreated) or lumber
Screws or nails
Hinges (optional, for doors)
Wire mesh (optional, for lining the bins)
Tools You'll Need:
Drill or hammer
Screwdriver or nail gun
Saw
Measuring tape
**How to Build It:**
1. Build three separate bins using the pallet or lumber method described above. Each bin should be approximately the same size.
2. Arrange the bins side by side, leaving a small space between them.
3. Optional: Connect the bins at the top with a piece of wood to provide additional stability.
4. In the first bin, add fresh compostable materials.
5. Once the first bin is full, start adding materials to the second bin.
6. After the second bin is full, the compost in the first bin should be partially decomposed. Transfer the contents of the first bin to the third bin to finish composting.
7. Continue rotating the compost between the bins as needed.
5. Tumbler Compost Bin
A tumbler is a rotating bin that makes it easy to aerate your compost. It's a great option for those who want to speed up the composting process and avoid manual turning.
- Pros: Easy to turn, speeds up decomposition, keeps pests out, more aesthetically pleasing.
- Cons: More expensive than other options, can be difficult to assemble, limited capacity.
While you can purchase pre-made tumblers, building one yourself can be a fun and rewarding project.
**Materials You'll Need:**
A large plastic barrel or drum
A metal frame or stand
A metal pipe or rod for the axle
Screws, nuts, and bolts
Drill
Saw
Measuring tape
**How to Build It:**
1. Clean the plastic barrel thoroughly.
2. Cut a hole in the barrel for adding and removing compost. Attach a lid or door to the opening.
3. Construct a metal frame or stand that will support the barrel and allow it to rotate freely.
4. Drill holes in the center of each end of the barrel.
5. Insert the metal pipe or rod through the holes to create an axle.
6. Attach the axle to the metal frame or stand.
7. Test the tumbler to make sure it rotates smoothly.
8. Add your compostable materials and turn the tumbler regularly. Make sure to monitor moisture and temperature.
Discover Proven Techniques to Preserve Your Food Year-Round and Enjoy Less Waste with More Freshness
6. Worm Compost Bin (Vermicomposting)
Vermicomposting uses worms to break down organic waste. It's a great option for small spaces and produces nutrient-rich compost called worm castings.
- Pros: Excellent compost, great for small spaces, reduces kitchen waste.
- Cons: Requires special care for the worms, can be smelly if not properly maintained, slower than other methods.
Materials You'll Need:
Two plastic bins (one opaque, one nested inside the other)
Drill
Bedding material (shredded newspaper, coconut coir)
Red wiggler worms (Eisenia fetida)
How to Build It:
1. Drill drainage holes in the bottom of the inner bin and ventilation holes in the lid.
2. Place the inner bin inside the outer bin. The outer bin will catch any excess liquid (worm tea).
3. Add the bedding material to the inner bin. Moisten the bedding until it is damp but not soggy.
4. Add the red wiggler worms to the bin.
5. Bury your kitchen scraps in the bedding.
6. Keep the bin moist and aerated.
7. Harvest the worm castings every few months.
7. Bokashi Compost Bin
Bokashi composting is an anaerobic (oxygen-free) fermentation process that uses inoculated bran to break down food waste, including meat and dairy.
- Pros: Can compost all types of food waste, reduces odors, produces nutrient-rich compost tea.
- Cons: Requires bokashi bran, produces acidic compost that needs to be aged before use, requires two bins.
**Materials You'll Need:**
Two airtight buckets with lids
Bokashi bran
Drill (optional, for drainage spigot)
**How to Build It:**
1. One bucket will be the primary composting bin, and the other will be a spare. you can purchase Bokashi bins, but all you need is an airtight bucket.
2. Optional: Drill a hole near the bottom of one bucket and install a spigot for draining the compost tea.
3. Place food scraps in the bucket and sprinkle with bokashi bran.
4. Press down on the food scraps to remove air pockets.
5. Seal the lid tightly.
6. Repeat steps 3-5 until the bucket is full.
7. Once the bucket is full, let it ferment for two weeks.
8. Drain the compost tea regularly.
9. After two weeks, bury the fermented waste in your garden or add it to your compost pile to finish decomposing.
Materials You Can Use to Build Your Compost Bin
Choosing the right materials is crucial for building a durable and effective compost bin. Here are some popular options:
**Wood:Untreated lumber, cedar, and redwood are excellent choices for building compost bins. Avoid treated wood, as it can leach harmful chemicals into your compost.
**Pallets:Recycled wooden pallets are a cost-effective and sustainable option. Make sure the pallets are untreated and in good condition.
**Wire Mesh:Chicken wire or hardware cloth can be used to create simple and inexpensive compost bins.
**Plastic:Plastic bins and barrels can be repurposed for composting. Make sure the plastic is food-grade and BPA-free.
**Concrete Blocks:Concrete blocks can be used to build durable and long-lasting compost bins.
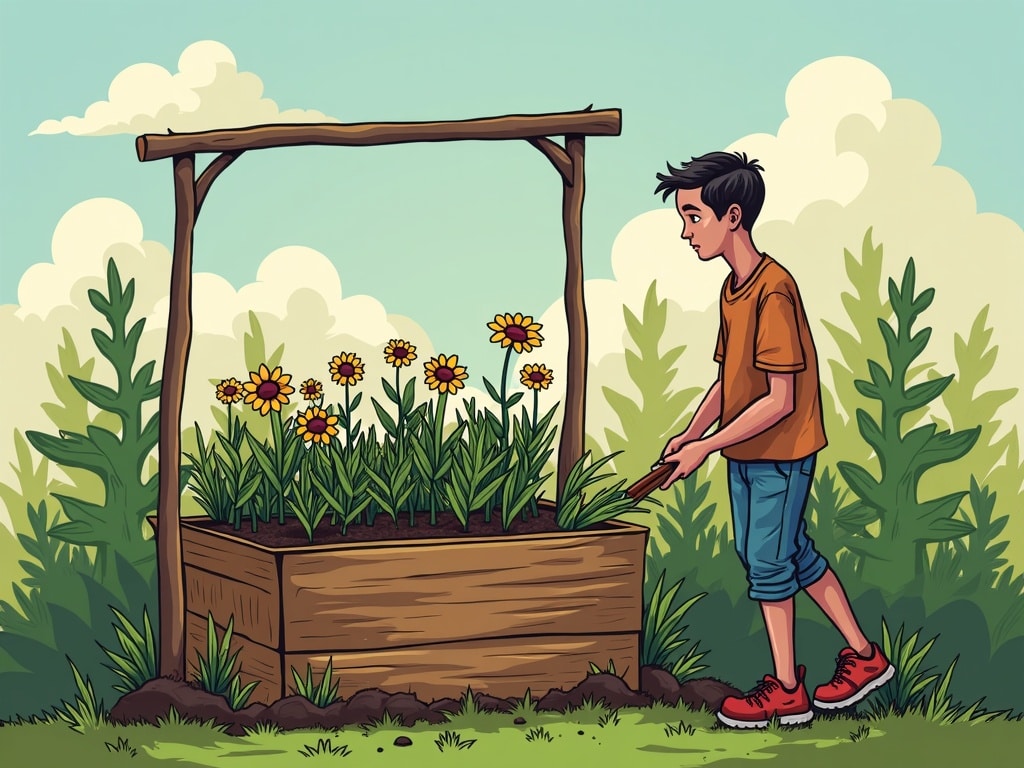
Step-by-Step Guide to Building a Simple Pallet Compost Bin
Let's walk through the process of building a simple and effective pallet compost bin:
**Step 1: Gather Your Materials**
4 wooden pallets (untreated)
Screws or nails
Drill or hammer
Screwdriver or nail gun
Measuring tape
Gloves and safety glasses
**Step 2: Prepare the Pallets**
Inspect the pallets for any damage or loose nails.
Clean the pallets with a brush and water to remove any dirt or debris.
If necessary, sand down any rough edges or splinters.
**Step 3: Assemble the Bin**
1. Arrange the pallets in a square shape, with the open sides facing inward.
2. Use a measuring tape to ensure that the corners are square.
3. Secure the pallets together at the corners using screws or nails. Use at least two screws or nails per corner for added stability.
4. Optional: Add hinges to one of the pallets to create a door for easy access to the compost.
**Step 4: Reinforce the Bin**
For added stability, you can add additional supports to the corners of the bin.
Cut pieces of wood to fit diagonally across the corners and secure them with screws or nails.
**Step 5: Line the Bin (Optional)**
Lining the inside of the bin with cardboard or weed fabric can help retain moisture and prevent the compost from drying out.
Cut the cardboard or weed fabric to fit the inside of the bin and secure it with staples or tacks.
**Step 6: Start Composting!**
Add a layer of brown materials (leaves, twigs) to the bottom of the bin.
Add a layer of green materials (grass clippings, kitchen scraps) on top of the brown materials.
Keep the compost pile moist and turn it regularly to aerate it.
Tips for Successful Composting
**Maintain the Right Moisture Level:The compost pile should be moist but not soggy. Aim for the consistency of a wrung-out sponge.
**Aerate the Compost Regularly:Turning the compost pile helps to aerate it, which speeds up the decomposition process.
**Maintain the Correct Ratio of Greens to Browns:A good ratio is approximately 1 part green materials to 2 parts brown materials.
**Avoid Adding Meat, Dairy, and Oily Foods:These materials can attract pests and create unpleasant odors.
**Chop or Shred Materials:Smaller pieces of material will decompose faster.
**Be Patient:Composting takes time. Depending on the method and materials, it can take anywhere from a few weeks to several months to produce finished compost.
**Monitor the Temperature:An ideal composting temperature is between 130°F and 160°F.
**Troubleshoot Common Problems:If your compost pile is too wet, add more brown materials. If it's too dry, add water. If it smells bad, turn it more frequently to aerate it.
Common Composting Mistakes to Avoid
Even with the best intentions, composting can sometimes go awry. Here are some common mistakes to avoid:
**Adding Too Much of One Material:Overloading your compost with too much grass, for example, can lead to a slimy, smelly mess. Balance your greens and browns [externalLink insert].
**Not Turning the Pile Enough:Lack of aeration slows down decomposition and can lead to anaerobic conditions, resulting in foul odors.
**Ignoring Moisture Levels:A dry compost pile won't decompose, while a soggy pile breeds unwanted bacteria.
**Composting the Wrong Materials:Adding meat, dairy, or oily foods attracts pests and can create unpleasant smells.
**Giving Up Too Soon:Composting takes time, so don't get discouraged if you don't see results immediately.
Troubleshooting Common Composting Problems
**Smelly Compost:This is usually caused by a lack of oxygen. Turn the pile more frequently and add more brown materials.
**Slow Decomposition:This can be caused by a lack of moisture, a lack of aeration, or an imbalance of greens and browns. Adjust your composting practices accordingly.
**Pests:Cover your compost pile with a layer of soil or leaves to deter pests. Avoid adding meat, dairy, and oily foods.
**Compost is Too Wet:Add more dry, brown materials like shredded paper, cardboard, or dry leaves. Turn the pile to help it aerate and dry out.
**Compost is Too Dry:Add water until the compost is moist like a wrung-out sponge. Cover the pile to help retain moisture.
Harvesting and Using Your Compost
After several weeks or months, your compost should be ready to harvest. It will be dark, crumbly, and have a earthy smell.
**How to Harvest Compost:**
**Screening:Use a compost sifter or screen to remove any large pieces of undecomposed material.
**Shoveling:Simply shovel the finished compost from the bottom of the bin.
**Turning:Turn the compost pile and harvest the finished compost from the bottom.
**How to Use Your Compost:**
**Soil Amendment:Mix compost into your garden soil to improve its fertility and structure.
**Mulch:Use compost as a mulch around plants to retain moisture, suppress weeds, and add nutrients to the soil.
**Potting Mix:Add compost to your potting mix to provide nutrients and improve drainage.
**Compost Tea:Make compost tea by steeping compost in water and using it to fertilize your plants.
Conclusion
Building your own compost bin is a rewarding and sustainable way to reduce waste, improve soil health, and grow thriving plants. By following this comprehensive guide, you can choose the right type of bin for your needs, gather the necessary materials, and construct a functional and aesthetically pleasing composting system. So, get started today and transform your kitchen scraps and yard waste into valuable garden gold!