Here's your article:
How to Install a Spigot on a Rain Barrel: A Comprehensive Guide
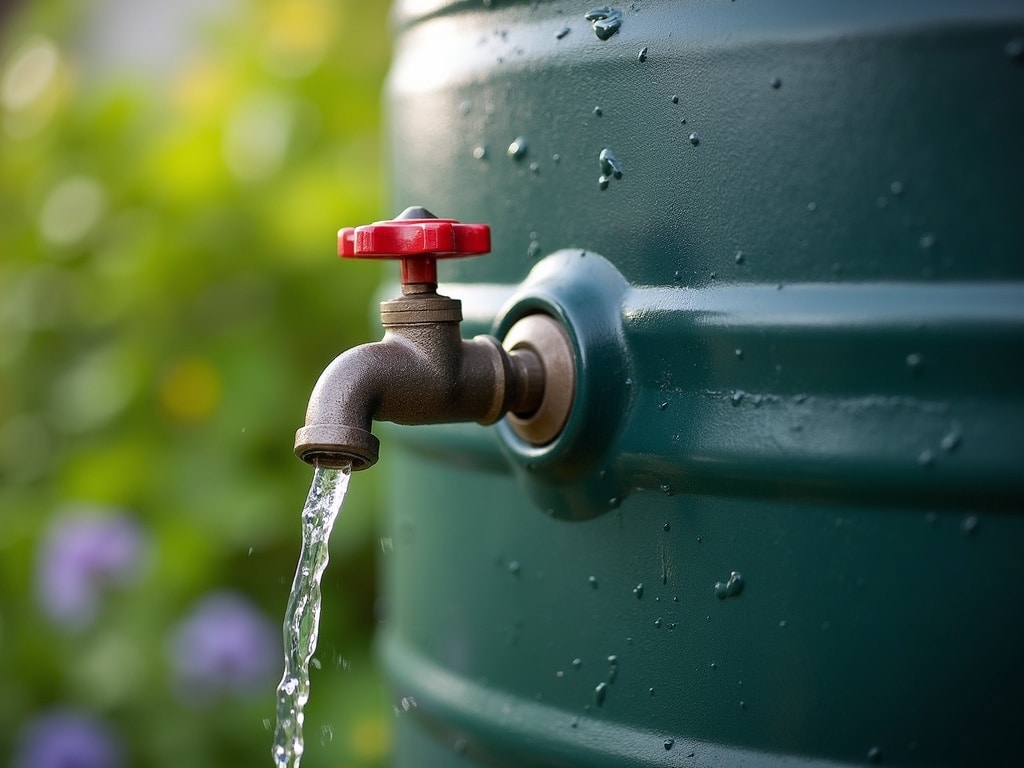
Imagine harvesting the rain, a free and natural resource, to nourish your garden, wash your car, or even flush your toilets. A rain barrel makes this eco-friendly dream a reality. But a rain barrel without a spigot? It's like a car without wheels – functional in theory, but deeply impractical. Installing a spigot is the key to unlocking the full potential of your rain barrel, transforming it from a mere container into a user-friendly water source. This comprehensive guide will walk you through every step, ensuring a leak-proof and long-lasting installation.
Why Install a Spigot on Your Rain Barrel?
Before we dive into the how, let's explore the why. Why bother with a spigot in the first place? Couldn't you just dip a bucket into the rain barrel? Technically, yes. But a spigot offers several compelling advantages:
- Ease of Use: A spigot provides controlled water flow, making it effortless to fill watering cans, attach a hose, or connect to a drip irrigation system. No more struggling to maneuver heavy buckets or worrying about splashes and spills.
- Reduced Sediment Disturbance: Dipping a bucket can stir up sediment that settles at the bottom of the rain barrel. A spigot draws water from higher up, minimizing sediment getting into your watering can or irrigation system.
- Convenience: With a spigot, you can access water directly from the barrel without having to lift the lid or reach inside. This is especially helpful if you have back pain or limited mobility.
- Controlled Flow: Spigots allow you to regulate the water flow, preventing waste and ensuring you only use as much water as you need.
- Hose Connection: Many spigots are threaded, allowing you to easily attach a garden hose for watering larger areas or washing tasks significantly increasing functionality of your rainwater harvesting system.
Choosing the Right Spigot for Your Rain Barrel
Not all spigots are created equal. Selecting the right type is crucial for a successful and leak-free installation. Here’s what to consider:
Material
- Brass: Durable, corrosion-resistant, and aesthetically pleasing, brass spigots are a popular choice. However, they can be more expensive than other options.
- Plastic: Lightweight, affordable, and resistant to rust, plastic spigots are a practical option for many rain barrels. Ensure you choose a high-quality, UV-resistant plastic to prevent cracking or fading over time.
- Stainless Steel: A very durable and corrosion-resistant option, frequently available in higher-end models. Expect a greater upfront investment, but lasting performance.
Size and Threading
Most rain barrels use a standard ¾-inch threading for spigot connections. However, it's always best to measure the opening on your barrel and confirm the threading size before purchasing a spigot. Using the wrong size will lead to leaks or an inability to install it altogether. Common sizes are ¾-inch and ½-inch. Carefully check what your rain barrel requires. Adaptors can sometimes work, but it's best to get the right threading to begin with.
Type of Spigot
- Standard Hose Bib: A classic spigot with a threaded outlet for attaching a garden hose. Ideal for general watering and cleaning tasks.
- Ball Valve: Provides a quick and easy on/off control with a simple lever. Ball valves are known for their durability and leak-resistant design.
- Quarter-Turn Valve: Similar to a ball valve, but offers a more compact design. Easy to operate with a simple quarter-turn.
- Self-Closing Spigot: Automatically shuts off when released, preventing water waste. A good choice if you have children or are prone to forgetting to turn off the spigot.
Features to Consider
- Backflow Preventer: Prevents water from flowing back into the rain barrel, which can contaminate your water source. Essential if you plan to use the water for potable purposes.
- Locking Mechanism: Allows you to lock the spigot to prevent unauthorized use or tampering. Useful if your rain barrel is located in a public area.
- Removable Handle: Can be removed to prevent accidental opening or vandalism.
- Ergonomic Handle: Comfortable to grip and easy to turn, especially for individuals with arthritis or limited hand strength.
Tools and Materials You'll Need
Before you begin the installation process, gather the necessary tools and materials. Having everything on hand will make the job smoother and more efficient.
- Spigot: Choose the right type, size, and material for your needs.
- Drill with Hole Saw Attachment: A hole saw matching the diameter of the spigot's threaded shank. Ensure the hole saw is appropriate for the material of your rain barrel (plastic or wood).
- Adjustable Wrench or Pliers: For tightening the spigot onto the rain barrel.
- Teflon Tape or Plumber's Putty: To create a watertight seal between the spigot and the rain barrel. Teflon tape is generally preferred for plastic threads, while plumber's putty is better suited for metal threads.
- Measuring Tape or Ruler: To measure and mark the location for the spigot hole.
- Sandpaper or File: To smooth any rough edges after drilling the hole.
- Safety Glasses: To protect your eyes from debris.
- Gloves: To protect your hands.
- Bucket (Optional): To catch any water that may be in the rain barrel.
Step-by-Step Guide to Installing a Spigot
Now, let's get to the heart of the matter: installing the spigot. Follow these step-by-step instructions for a successful installation:
1. Prepare the Rain Barrel
Empty the rain barrel as much as possible. This will make it lighter and easier to work with, and it will prevent water from spilling during the drilling process. If you can't empty it completely, try to get the water level below the point where you'll be installing the spigot.
2. Choose the Spigot Location
Decide where you want to position the spigot on the rain barrel. Consider the following factors:
- Height: Position the spigot low enough to allow most of the water to drain out but high enough to accommodate a watering can or bucket underneath. A height of 6-12 inches from the bottom is usually a good compromise.
- Accessibility: Ensure the spigot is easily accessible and not obstructed by any plants or other objects.
- Reinforcement: If possible, choose a location where the rain barrel wall is reinforced or thicker. This will provide a more secure base for the spigot.
3. Mark the Hole Location
Using a measuring tape or ruler, measure and mark the exact location for the spigot hole. Use a marker or pen that is visible on the rain barrel's surface. Double-check your measurements to ensure accuracy. Accuracy now prevents leaks and headaches later.
4. Drill the Hole
Attach the hole saw to your drill. Carefully align the hole saw with the marked location and begin drilling. Apply steady pressure and maintain a consistent speed. If drilling through plastic, avoid overheating the material, which can cause it to melt or crack. Pause occasionally to allow the drill and the rain barrel to cool. For metal, use a lubricant like cutting oil to reduce friction and heat.
5. Smooth the Edges
After drilling the hole, use sandpaper or a file to smooth any rough edges or burrs around the opening. This will ensure a clean and smooth surface for the spigot to seat against, preventing leaks.
6. Prepare the Spigot
Wrap the threaded shank of the spigot with Teflon tape. Apply 2-3 layers of tape, wrapping it in the direction of the threads. This will create a watertight seal. If using plumber's putty, apply a bead of putty around the edge of the spigot's flange.
7. Install the Spigot
Insert the threaded shank of the spigot through the hole in the rain barrel. From the inside of the barrel, attach any washers and nuts that came with the spigot. Tighten the nut using an adjustable wrench or pliers, ensuring the spigot is securely fastened to the rain barrel. Be careful not to overtighten, as this could crack the plastic or damage the threads. If your rain barrel's wall is thin, consider using a large washer on the inside to provide additional support and distribute the pressure.

8. Test for Leaks
Once the spigot is installed, fill the rain barrel with water to test for leaks. Check around the spigot and the nut on the inside of the barrel. If you see any leaks, tighten the nut further. If the leak persists, you may need to add more Teflon tape or plumber's putty. Sometimes it takes several attempts to get a completely watertight seal. Don't be afraid to disassemble and reassemble the spigot, adding more sealant as needed.
Alternative Installation Methods
While drilling a hole is the most common method for installing a spigot, there are alternative approaches you might consider, depending on your rain barrel and your comfort level with power tools.
Using an Existing Opening
Some rain barrels come with pre-drilled openings or threaded ports specifically designed for spigot installation. If your rain barrel has one of these, you can simply screw the spigot into the existing opening. Be sure to use Teflon tape or plumber's putty to create a watertight seal.
Installing a Bulkhead Fitting
A bulkhead fitting is a type of connector that allows you to attach a spigot to a rain barrel without drilling a hole directly into the barrel wall. The bulkhead fitting consists of two parts: a threaded fitting that passes through the barrel wall and a nut that tightens on the inside. This creates a strong and watertight seal. Bulkhead fittings are a good option if you want a more secure and professional-looking installation.
Using a Rubber Grommet
A rubber grommet can be used to create a watertight seal around the spigot shank. Drill a hole slightly smaller than the outer diameter of the grommet. Insert the grommet into the hole, and then insert the spigot shank through the grommet. The rubber grommet will compress around the shank, creating a seal. This method is best suited for smaller spigots and thinner-walled rain barrels.
Troubleshooting Common Problems
Even with careful installation, you may encounter some common problems. Here's how to troubleshoot them:
- Leaks: The most common problem is leaks around the spigot. Tighten the nut further, add more Teflon tape or plumber's putty, or try a different type of sealant. Ensure the surfaces are clean and dry before applying sealant.
- Spigot Won't Turn: If the spigot is difficult to turn, try lubricating the valve with a silicone-based lubricant. Avoid using petroleum-based lubricants, as they can damage plastic components.
- Low Water Flow: If the water flow from the spigot is weak, check for obstructions in the barrel, such as debris or sediment blocking the inlet. Clean the barrel regularly to prevent build-up. Also, ensure the rain barrel is elevated to provide adequate water pressure.
- Spigot Freezes in Winter: In cold climates, water inside the spigot can freeze and damage the valve. To prevent this, disconnect the spigot during the winter months and store it indoors. Alternatively, insulate the spigot with pipe insulation or heat tape.
Maintaining Your Rain Barrel and Spigot
Proper maintenance will extend the life of your rain barrel and spigot and ensure they continue to function properly. Here are some tips:
- Clean the Rain Barrel Regularly: Remove debris, leaves, and sediment from the rain barrel every few months. This will prevent clogs and maintain water quality.
- Inspect the Spigot: Check the spigot regularly for leaks, cracks, or other damage. Replace the spigot if necessary.
- Lubricate the Valve: Lubricate the spigot valve periodically to ensure smooth operation. Use a silicone-based lubricant.
- Protect from Freezing: In cold climates, disconnect the spigot during the winter months or insulate it to prevent freezing.
- Cover the Rain Barrel: Use a lid or screen to prevent debris and mosquitoes from entering the rain barrel.
Extending the Life of your Rain Barrel Spigot
Selecting the proper spigot and following some basic maintenance routines as listed above can significantly lengthen its service life. Purchasing quality components will save you time, frustration and money in the long run!
Advanced Rainwater Harvesting Techniques
Once you've mastered the basics of rain barrel installation and maintenance, you can explore more advanced rainwater harvesting techniques:
- Connecting Multiple Rain Barrels: Link several rain barrels together to increase your water storage capacity.
- Installing a First Flush Diverter: Divert the initial runoff from your roof, which contains the most contaminants, away from the rain barrel.
- Using a Submersible Pump: Use a submersible pump to increase water pressure and allow you to water uphill or operate a sprinkler system.
- Integrating Rainwater Harvesting into Your Irrigation System: Connect your rain barrel to your drip irrigation system to automatically water your plants.
- Treating Rainwater for Potable Use: With proper filtration and disinfection, rainwater can be used for drinking, cooking, and other potable purposes. However, this requires specialized equipment and careful monitoring.
The Environmental Benefits of Rainwater Harvesting
Rainwater harvesting offers numerous environmental benefits:
- Conserves Water: Reduces your reliance on municipal water supplies, helping to conserve this precious resource.
- Reduces Stormwater Runoff: Captures rainwater that would otherwise flow into storm drains, reducing flooding and pollution.
- Reduces Energy Consumption: Reduces the energy needed to treat and pump water from municipal sources.
- Provides a Sustainable Water Source: Offers a reliable and sustainable source of water for your garden, lawn, and other uses.
- Reduces Your Carbon Footprint: Lowers your overall environmental impact by reducing your water consumption and energy use.
Conclusion: Embrace the Power of Rainwater Harvesting
Installing a spigot on your rain barrel is a simple yet powerful way to unlock the potential of rainwater harvesting. By following the steps outlined in this guide, you can easily create a user-friendly and sustainable water source for your home and garden. Embrace the power of rainwater harvesting and start conserving water, reducing your environmental impact, and enjoying the benefits of this free and natural resource. With a properly installed spigot, your rain barrel will be more than just a container; it will be a valuable tool for a greener and more sustainable lifestyle. Don't wait – start harvesting the rain today!
Consider expanding your knowledge of rainwater harvesting with further reading.