The Ultimate Guide to Fertilizing Container Herbs: Unlock Flavor and Abundance
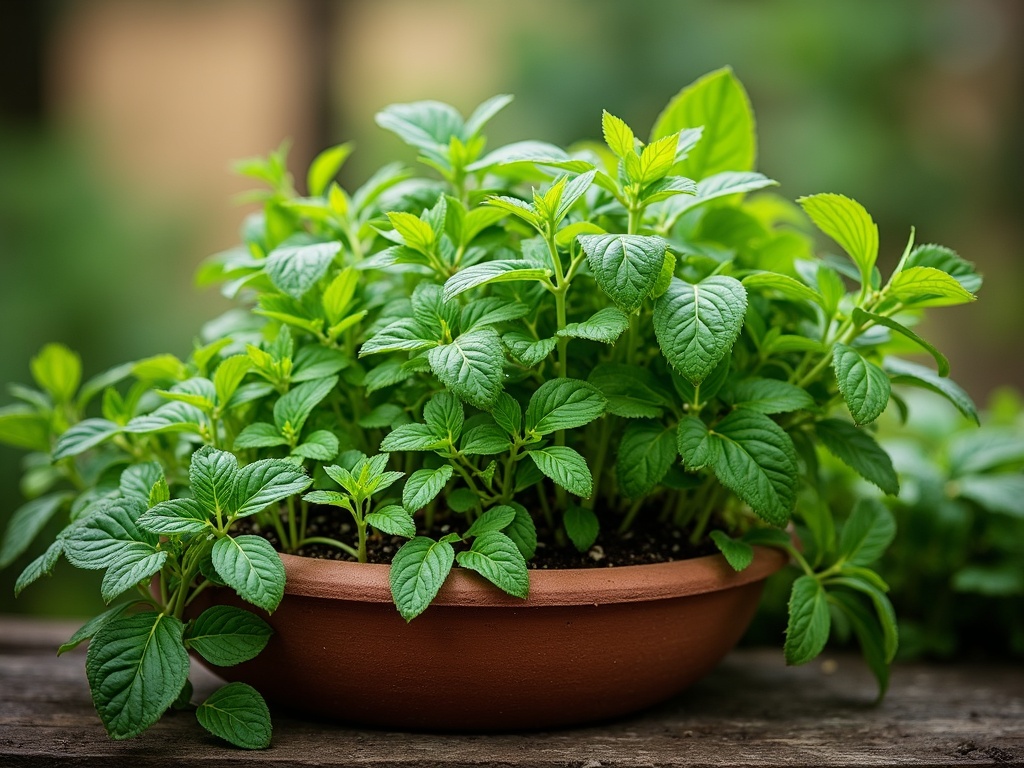
Imagine stepping onto your patio, the aroma of fresh basil, mint, and rosemary swirling in the air. You reach out and pluck a few leaves, their vibrant green a testament to your green thumb. The secret to this herb-filled paradise? Knowing how to properly fertilize your container herbs. Fertilizing isn't just about adding stuff to the soil; it's about providing the precise nutrients your herbs need to thrive, unlocking their full flavor potential and ensuring a bountiful harvest. This comprehensive guide will delve into the art and science of fertilizing container herbs, covering everything from understanding nutrient needs to choosing the right fertilizers and avoiding common mistakes.
Why Fertilizing Container Herbs is Crucial
Container gardening, while convenient, presents unique challenges. Unlike herbs grown in the ground, container herbs are entirely dependent on you for their nutritional needs. Here's why fertilizing is so important:
Limited Soil Volume: Containers have a finite amount of soil, meaning nutrients are quickly depleted as the herbs grow.
Nutrient Leaching: Frequent watering, essential for container plants, can wash away valuable nutrients from the soil.
Restricted Root Growth: Confined roots have limited access to nutrients compared to herbs growing in the open ground.
Optimizing Flavor and Growth: Proper fertilization ensures robust growth, vibrant color, and intensely flavorful herbs. Without adequate nutrients, herbs become leggy, weak, and less flavorful.
Understanding Herb Nutrient Needs: The NPK Ratio and Beyond
Before diving into specific fertilizers, it's crucial to understand what nutrients herbs need and how they're represented on fertilizer labels. The key lies in the NPK ratio.
The NPK Ratio Demystified
NPK stands for Nitrogen (N), Phosphorus (P), and Potassium (K), the three macronutrients essential for plant growth. The NPK ratio is always displayed on fertilizer packaging as three numbers (e.g., 10-10-10 or 5-2-3), representing the percentage of each nutrient by weight.
Nitrogen (N): Promotes leafy green growth. Essential for stems, leaves, and overall vegetative development. Too much nitrogen can lead to lush foliage but diminished flavor in herbs.
Phosphorus (P): Supports root development, flowering, and fruit production. It’s vital for strong roots and the development of essential oils, contributing to flavor and aroma.
Potassium (K): Enhances overall plant health, disease resistance, and water regulation. It also plays a crucial role in flavor development and oil production.
Micronutrients: The Unsung Heroes
While NPK gets the spotlight, micronutrients are equally important, albeit in smaller quantities. These include:
Calcium (Ca): Essential for cell wall development and nutrient uptake.
Magnesium (Mg): Crucial for chlorophyll production (photosynthesis).
Iron (Fe): Necessary for chlorophyll synthesis and enzyme activity.
Manganese (Mn): Involved in photosynthesis and enzyme activation.
Zinc (Zn): Important for enzyme function and growth regulation.
Boron (B): Essential for cell wall formation and sugar transport.
Copper (Cu): Involved in enzyme activity and disease resistance.
Molybdenum (Mo): Necessary for nitrogen metabolism.
A deficiency in any of these micronutrients can lead to stunted growth and reduced flavor. High-quality potting mixes often contain a baseline level of micronutrients, but these are depleted over time and need to be replenished through fertilization.
Specific Nutrient Needs of Common Herbs
While general guidelines exist, different herbs have slightly different nutrient requirements. Here's a brief overview:
Basil: Prefers a balanced fertilizer with a slightly higher nitrogen content (e.g., 10-5-5) to support leafy growth.
Mint: Benefits from a balanced fertilizer (e.g., 10-10-10) to encourage vigorous growth. Be careful not to over-fertilize, as this can reduce the intensity of its flavor.
Rosemary: Thrives with a low-nitrogen fertilizer (e.g., 5-10-10) to promote flowering and prevent leggy growth.
Thyme: Prefers a lean soil with low nitrogen. A very diluted balanced fertilizer or compost tea is sufficient.
Chives: Benefit from a fertilizer with slightly higher nitrogen (e.g., 12-6-6) to encourage strong, consistent leaf growth.
Parsley: Enjoys a balanced fertilizer (e.g., 10-10-10) or a fertilizer slightly higher in phosphorus to support root development.
Oregano: Similar to thyme, oregano prefers a relatively lean soil. Over-fertilizing can reduce flavor intensity. Use a diluted balanced fertilizer or compost tea sparingly.
Choosing the Right Fertilizer for Your Container Herbs
The fertilizer market is vast and can be overwhelming. The key is to understand the different types of fertilizers available and choose one that suits your needs and preferences.
Organic vs. Synthetic Fertilizers
This is the first major decision you'll need to make.
Organic Fertilizers: Derived from natural sources such as plant extracts, animal manure, and minerals.
Pros: Slow-release, improve soil health, environmentally friendly, less risk of over-fertilizing.
Cons: Can be more expensive, nutrient content may be less precise, can have a strong odor.
Synthetic Fertilizers: Man-made, chemically produced fertilizers.
Pros: Inexpensive, readily available, precise nutrient content, fast-acting.
Cons: Can harm soil health, risk of over-fertilizing and burning plants, environmentally less sustainable.
Types of Organic Fertilizers for Container Herbs
Compost: A fantastic all-around soil amendment and mild fertilizer. Adds organic matter, improves drainage, and provides a slow-release source of nutrients.
Compost Tea: A liquid extract of compost, rich in beneficial microbes and nutrients. Easy to apply as a foliar spray or soil drench.
Worm Castings: Highly concentrated worm manure, an excellent source of nutrients and beneficial microbes. Can be added to the soil or used to make worm casting tea.
Fish Emulsion: A liquid fertilizer made from fish byproducts. Rich in nitrogen and micronutrients. Can have a strong odor.
Seaweed Extract: A liquid fertilizer derived from seaweed. Contains micronutrients, growth hormones, and helps improve plant stress tolerance.
Bone Meal: A slow-release source of phosphorus. Good for root development.
Blood Meal: A high-nitrogen fertilizer derived from dried blood. Use cautiously, as it can burn plants if over-applied.
Rock Phosphate: A slow-release source of phosphorus.
Greensand: A slow-release source of potassium and micronutrients.
Types of Synthetic Fertilizers for Container Herbs
Granular Fertilizers: Slow-release granules that are mixed into the soil. Provide a steady supply of nutrients over several weeks or months.
Water-Soluble Fertilizers: Concentrated powders or liquids that are diluted in water and applied to the soil. Fast-acting but need to be applied more frequently.
Controlled-Release Fertilizers: Granules coated with a resin that gradually releases nutrients over time. Provide a consistent supply of nutrients for several months.
Choosing the Right Formulation
Besides the organic vs. synthetic decision, consider the fertilizer formulation:
Balanced Fertilizers: (e.g., 10-10-10) Provide equal amounts of nitrogen, phosphorus, and potassium. Suitable for general use.
High-Nitrogen Fertilizers: (e.g., 20-10-10) Promote leafy growth. Ideal for basil, mint, and other herbs where foliage is the primary focus.
Low-Nitrogen Fertilizers: (e.g., 5-10-10) Encourage flowering and fruiting. Suitable for rosemary, thyme, and other herbs grown for their flowers or seeds.
Considering Slow-Release vs. Fast-Release
Slow-Release Fertilizers: Gradually release nutrients over time, reducing the risk of burning plants. Ideal for beginners and for providing a consistent nutrient supply.
Fast-Release Fertilizers: Provide a quick boost of nutrients. Useful for correcting deficiencies or stimulating rapid growth. Require more frequent application and careful monitoring.
Fertilizing Techniques: How and When to Feed Your Container Herbs
Now that you've chosen the right fertilizer, it's time to learn how to apply it properly. The timing and method of application are just as important as the fertilizer itself.
When to Start Fertilizing
Starting from Seed: Seedlings don't need fertilizer until they develop their first true leaves. At this point, you can start with a very diluted solution of a balanced fertilizer.
Transplanting Seedlings or Cuttings: Wait a week or two after transplanting before fertilizing to allow the roots to establish.
Established Plants: Start fertilizing in the spring when new growth emerges. Continue fertilizing throughout the growing season, following the instructions on your chosen fertilizer.
Fertilizing Frequency
The frequency of fertilization depends on the type of fertilizer you're using:
Slow-Release Fertilizers: Apply according to package directions, typically every few weeks or months.
Fast-Release Fertilizers: Apply every 1-2 weeks, or as needed, based on plant appearance.
Organic Amendments (Compost, Worm Castings): Can be added to the soil at planting time and then top-dressed every few weeks.
Application Methods
Top-Dressing: Sprinkle granular fertilizer or organic amendments around the base of the plant, avoiding direct contact with the stem. Gently work it into the soil surface and water thoroughly.
Side-Dressing: Create a shallow trench a few inches away from the plant's stem. Apply the fertilizer to the trench and cover it with soil. Water thoroughly.
Liquid Feeding: Dilute water-soluble fertilizers or liquid organic fertilizers according to package directions. Pour the solution directly onto the soil, ensuring it reaches the root zone.
Foliar Feeding: Dilute liquid fertilizers and spray them directly onto the leaves. This is a quick way to deliver micronutrients, but it's not a substitute for soil fertilization. Apply foliar sprays in the early morning or late evening to avoid burning the leaves.
General Tips for Fertilizing Container Herbs
Always follow package directions: Over-fertilizing can be more harmful than under-fertilizing.
Water before fertilizing: This helps prevent fertilizer burn.
Apply fertilizer evenly: Ensure the entire root zone receives nutrients.
Monitor your plants: Look for signs of nutrient deficiencies or excesses (more on this below).
Adjust fertilization based on weather: During periods of rapid growth or heavy rain, your herbs may need more fertilizer.
Consider the pot size: Larger containers require more fertilizer than smaller containers.
Recognizing and Addressing Nutrient Deficiencies in Container Herbs
Even with diligent fertilization, nutrient deficiencies can sometimes occur. Learning to recognize the symptoms is crucial for timely correction.
Common Nutrient Deficiency Symptoms
Nitrogen Deficiency: Yellowing of older leaves, stunted growth, pale green color.
Phosphorus Deficiency: Stunted growth, dark green or reddish-purple leaves, poor root development.
Potassium Deficiency: Yellowing or browning of leaf edges, weak stems, reduced flowering.
Magnesium Deficiency: Yellowing between leaf veins, starting with older leaves.
Iron Deficiency: Yellowing between leaf veins, starting with younger leaves (chlorosis).
How to Correct Nutrient Deficiencies
Identify the Deficiency: Carefully observe the symptoms and compare them to descriptions of nutrient deficiencies.
Test Your Soil: If possible, test your soil pH and nutrient levels to confirm the deficiency.
Choose the Right Fertilizer: Select a fertilizer that is specifically formulated to address the identified deficiency.
Apply the Fertilizer Correctly: Follow package directions carefully to avoid over-fertilizing.
Monitor Your Plants: Observe your plants closely to see if they are responding to the treatment. It may take a few weeks to see improvement.
Natural Remedies for Nutrient Deficiencies
Compost Tea: A general tonic for nutrient deficiencies.
Epsom Salts (Magnesium Sulfate): Can be dissolved in water and sprayed on leaves to correct magnesium deficiency. Use sparingly.
Iron Chelate: A readily available form of iron that can be used to correct iron deficiency.
Discover Proven Techniques to Preserve Your Food Year-Round and Enjoy Less Waste with More Freshness
Avoiding Over-Fertilization: Recognizing the Signs and Taking Action
While nutrient deficiencies are a concern, over-fertilization is an equally common and potentially damaging problem.
Signs of Over-Fertilization
Leaf Burn: Browning of leaf tips and edges.
Salt Buildup: White crust on the soil surface.
Stunted Growth: Ironically, over-fertilization can sometimes lead to stunted growth.
Wilting: Even when the soil is moist.
Root Rot: Excess fertilizer can damage roots and make them susceptible to rot.
How to Correct Over-Fertilization
Flush the Soil: Thoroughly water the container to leach out excess fertilizer salts. Repeat several times.
Repot the Plant: If flushing doesn't work, repot the plant in fresh potting mix.
Stop Fertilizing: Give your plants a break from fertilizer for a few weeks to allow them to recover.
The Role of Soil pH in Nutrient Availability
Soil pH affects the availability of nutrients to plants. Most herbs prefer a slightly acidic to neutral pH (around 6.0-7.0).
Testing Soil pH
Soil Test Kits: Available at garden centers.
pH Meters: Electronic devices that measure soil pH.
Adjusting Soil pH
To Lower pH (make it more acidic): Add sulfur, peat moss, or pine needles to the soil.
To Raise pH (make it more alkaline): Add lime to the soil.
Choosing the Right Potting Mix: The Foundation for Healthy Herbs
While we've focused on fertilizing, the potting mix you use is equally important. A good potting mix provides drainage, aeration, and a foundation for healthy root growth.
Key Characteristics of a Good Potting Mix
Good Drainage: Prevents waterlogging and root rot.
Good Aeration: Allows roots to breathe.
Sufficient Water Retention: Holds enough moisture for the plants.
Nutrient Content: Provides a baseline level of nutrients.
pH: Slightly acidic to neutral (6.0-7.0).
Ingredients to Look For in a Potting Mix
Peat Moss or Coco Coir: Provide water retention and aeration.
Perlite or Vermiculite: Improve drainage and aeration.
Compost: Adds organic matter and nutrients.
Slow-Release Fertilizer: Provides a steady supply of nutrients.
Sustainable Fertilizing Practices for Container Herbs
Consider these environmentally friendly approaches:
Use Organic Fertilizers: Reduce reliance on synthetic chemicals.
Make Your Own Compost: Recycle kitchen and yard waste into valuable soil amendment.
Use Rainwater: Reduce water consumption and avoid tap water chemicals.
Practice Companion Planting: Certain herbs can help improve soil health and nutrient availability for other herbs.
Avoid Over-Fertilizing: Reduce runoff and pollution.
Troubleshooting Common Fertilizing Problems
Let's address common challenges:
Yellowing Leaves: Could be nitrogen deficiency, iron deficiency, or overwatering.
Stunted Growth: Could be nutrient deficiency, over-fertilization, or root-bound.
Lack of Flavor: Could be over-fertilization (especially with nitrogen), insufficient sunlight, or poor soil quality.
Pest Problems: Stressed plants are more susceptible to pests. Proper fertilization can help improve plant health and resistance.
Expert Tips for Maximizing Herb Flavor Through Fertilization
Don't Overdo the Nitrogen: Too much nitrogen can lead to lush foliage but diminished flavor.
Focus on Phosphorus and Potassium: These nutrients are crucial for flavor development and oil production.
Use Organic Fertilizers: They often result in more flavorful herbs.
Harvest at the Right Time: Harvest herbs in the morning after the dew has dried, when their essential oils are most concentrated.
Conclusion: Fertilizing Your Way to Herb Garden Success
Fertilizing container herbs is a journey, not a destination. By understanding the nutrient needs of your herbs, choosing the right fertilizers, and applying them correctly, you can unlock their full potential and enjoy a bountiful harvest of flavorful herbs. Remember to observe your plants closely, adjust your fertilizing practices as needed, and embrace sustainable gardening practices to create a thriving and environmentally friendly herb garden. So, step out onto your patio, breathe in the fragrant air, and savor the taste of freshly grown herbs – the reward for your dedication to the art of fertilizing.